Thursday, December 22, 2011

Stairway Garland

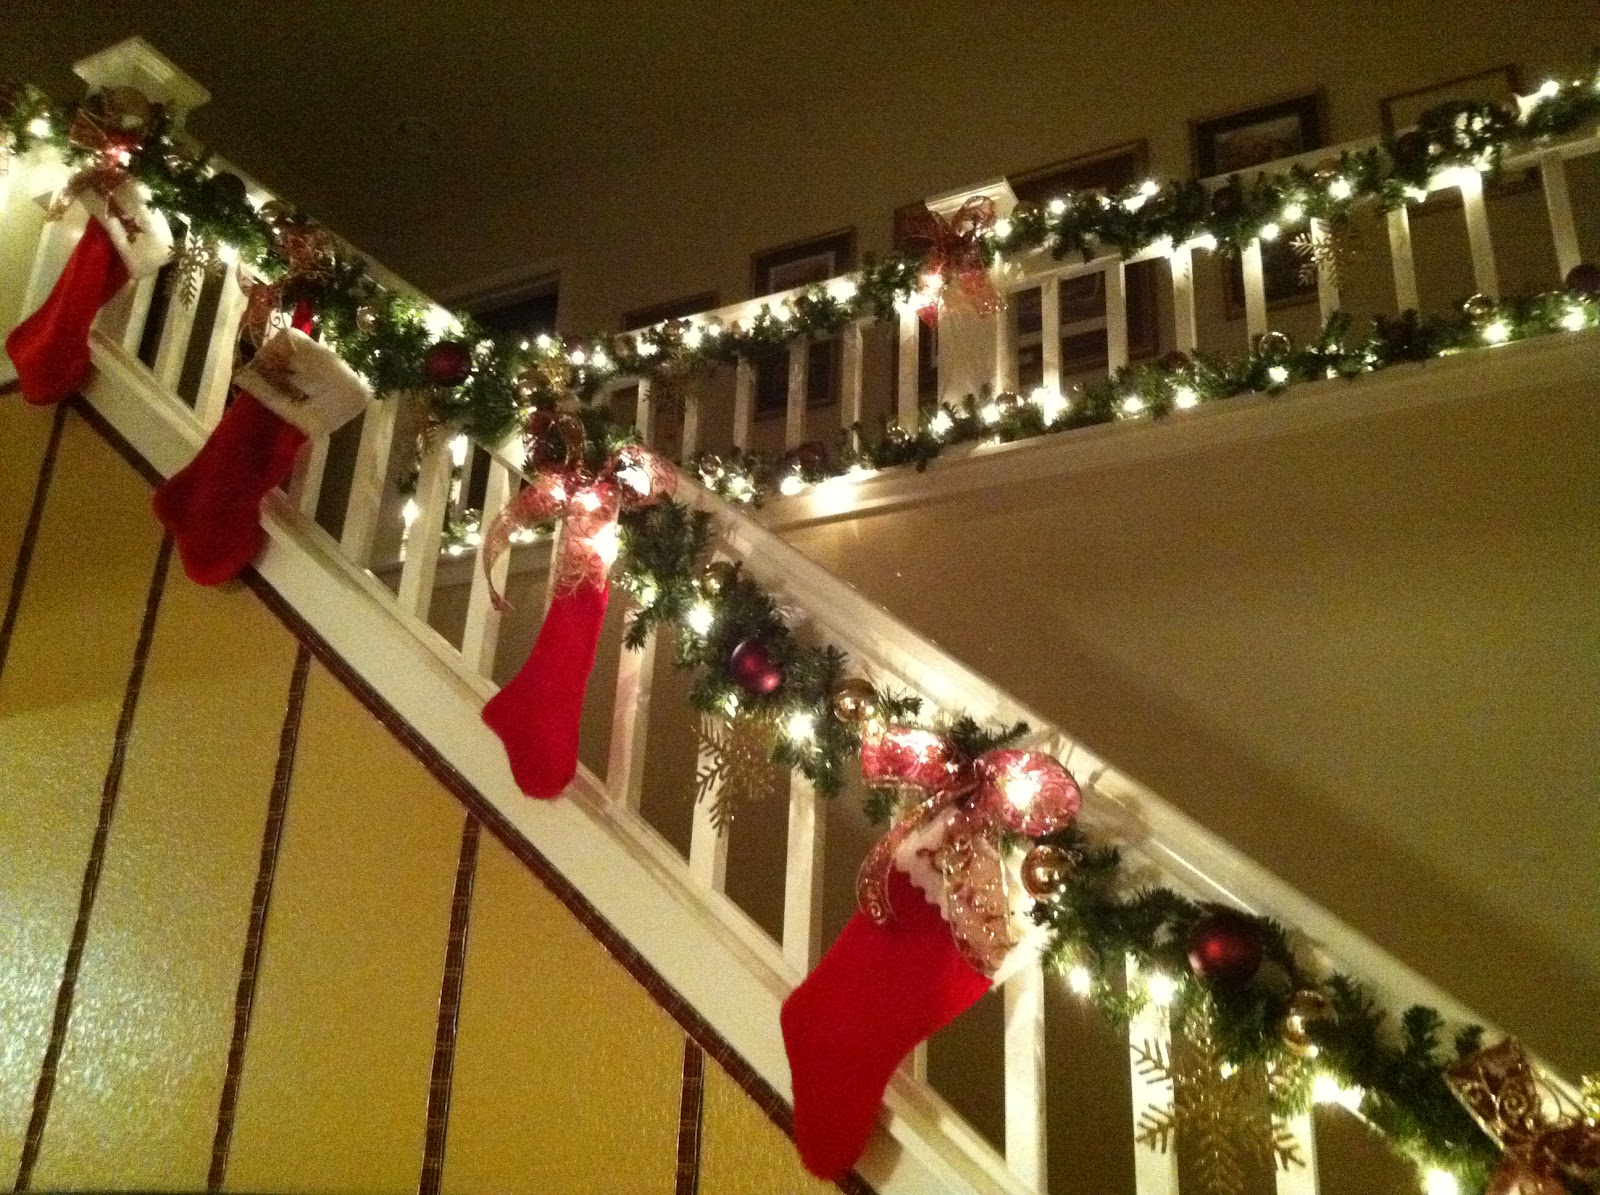
My final large holiday decorating project was my stairway banisters; it took forever to get into the right decorating mood to finish them up this year, not sure why, maybe just too many other creative projects to do first.  I started right off by putting up the lighted garlands the same day we put up our two Christmas trees, I was moving along when I added the pretty burgundy and gold bows but never got to the rest until last weekend, cutting it kind of close on that one.  Anyway, I dug out all the Christmas stockings, colored glass bulbs and golden snow flakes and went to work creating a garland which sparkles when all the twinkling lights come on, the last of the bling has arrived, finally.  The banister garland completes all the pretty golden, burgundy and green sparkle, glam, glitz and bling of all the holiday decorations, bringing all my decorating together, creating a cohesive look and feel to my home.

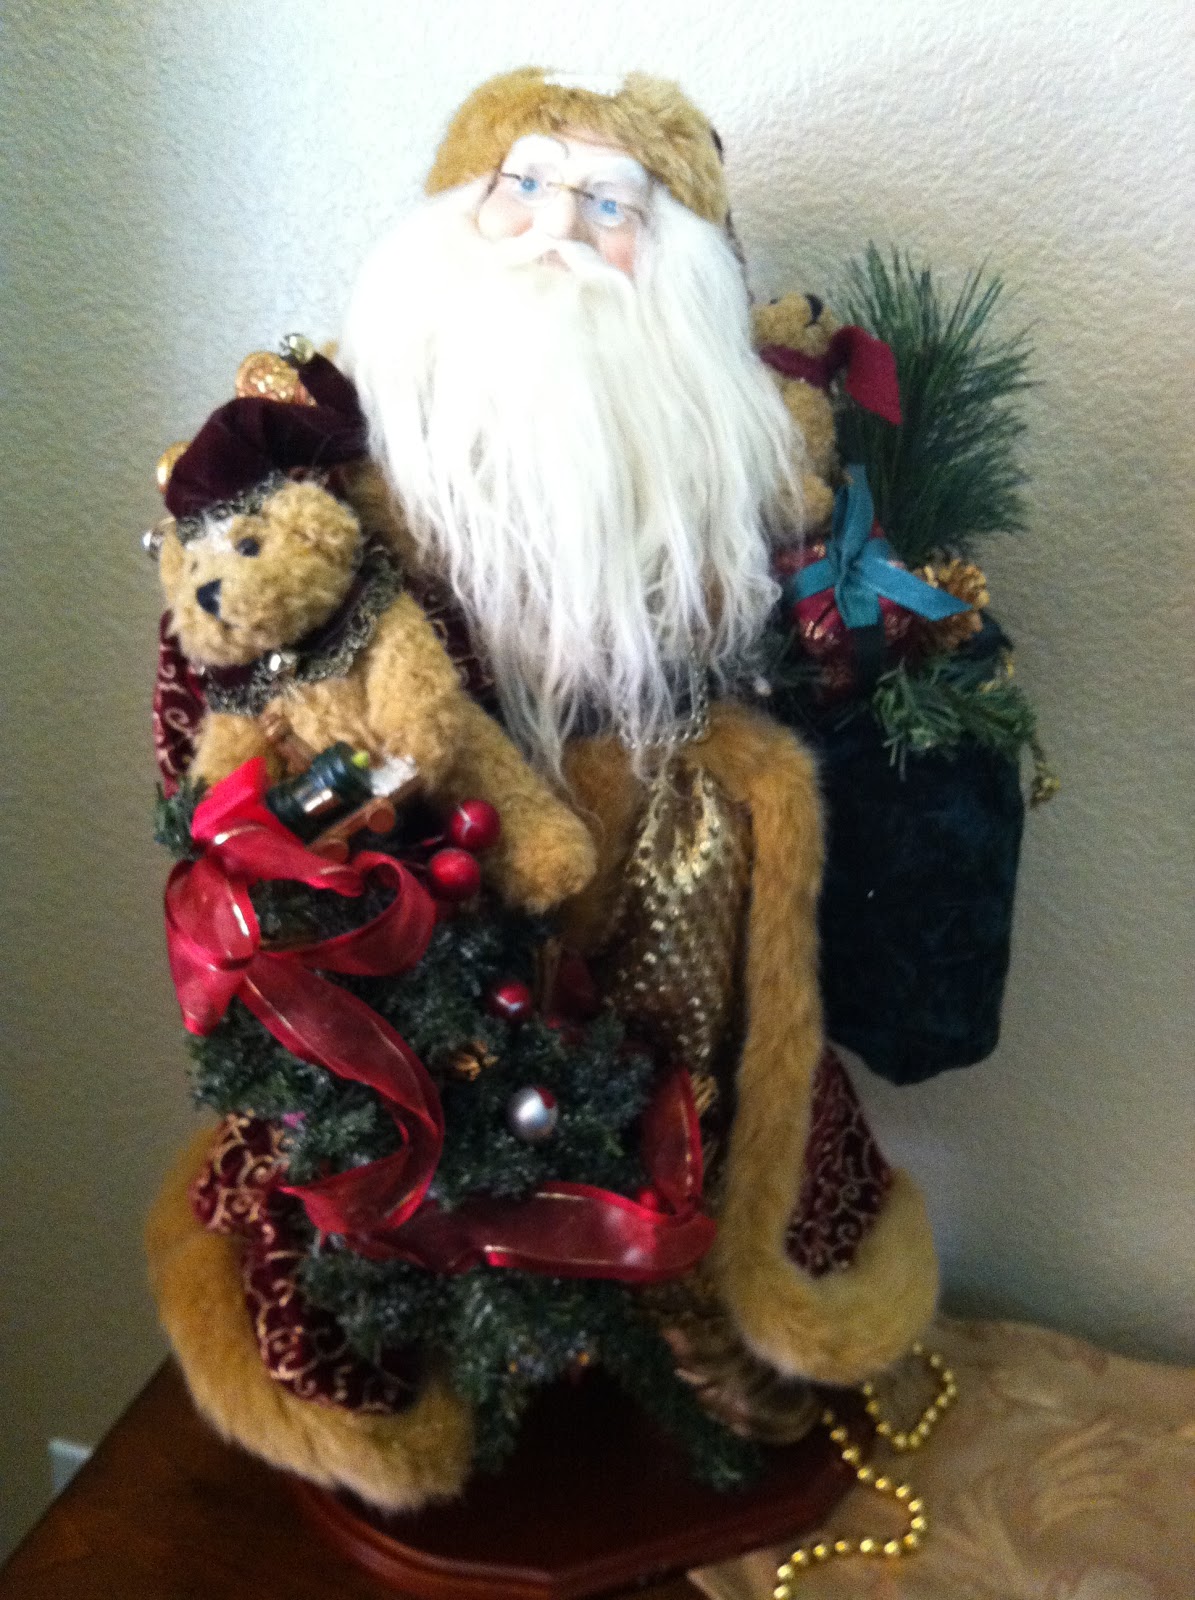
Now that you have seen my banisters, my final project, I would like to share some photos of my golden holiday decorations and my Old World Santa collection.  I hope you enjoy this little peak into the elements I use to decorate my home.


Wow that was a lot of photos I know, I just could not resist sharing my golden bling and Santa’s with you.  It is now time for me to settle into the last minute preparations, my son and his wife come home for the holiday on Friday, I have lots of  things to finish up before they arrive,  I am off to take care of all those little details, I leave you here for now, I will return.


Thanks for letting me share all my creative ventures with you these last few months, it has been a blessing, honor and a privilege and I am looking forward to a new year of more possibilities, creativity and adventures.  I wish you and yours a Very Merry Christmas and a Very Happy Holiday.  I will be back right after Christmas, watch for some New Year’s Eve Party Ideas.  See you very soon.

If you enjoyed reading this post you might also read;
*Sparkling Santa Tabletop
*Holiday Ribbon Wall

Monday, December 19, 2011

Gift Card Envelopes & Owls

Kind of a funny title for a post, I know, but envelopes and owls are what I was sewing today, they are gifts for my grown up children and my new grand baby.  I had lots of fun designing the fabric envelopes for those larger gift cards, which come in a cardboard holder; they don’t fit in the little felt ones I made the other day, so new ones had to be designed.

These turned out pretty cute with a retro Christmas print, lined in red and white polka dots.  I sorted through my button stash of reds and greens picking out special buttons to give each envelope its own bit of flare.  I made extras to jump start next years gift giving, a little extra something never hurts.


The felt owls were up next, they really turned out darling, and they were inspired by designer, Susan Beal, from her Button It Up book.   I made a size change so my grand baby could easily hold them in her little hands to make them crackle.  I used bamboo felt, from the Heather Bailey line, for the body, and stuffed them with the cellophane wrappers from microwave popcorn, so they would crackle when she squeezed them; she loves anything which makes noise.  Each owl is very Eco friendly too, all the parts are recycled.  I can’t wait to see if our little one likes them on Christmas morning, they are going in her stocking.

Thanks for letting me share today’s creative venture from my studio, I think it was the last of the gift making for this year.  I hope you have enjoyed following along with me on all of my holiday projects.  I have one more decorating project to share with you and that one is up next, watch for it.
See you soon.

If you enjoyed reading this post you might want to also read:

*Felt Gift Card Holders
*Christmas Stockings for Kids
*Pumpkin Spice Cookies
*A Quick Gift

Sunday, December 18, 2011

Felt Gift Card Holders

Every year my husband and I give our grown children Starbucks gift cards, so they can purchase their favorite coffee or teas and not have to pay for it themselves, just a special little treat from us.  We put them into their stockings wrapped in something different each year, this year I could not find what I was looking for in the stores, so frustrating.  I decided to create my own holders out of some of my felt scrap stash, I keep every little bit of leftover felt, you never know what you will need. 


These cute felt card holders are made from classic red and green felt, gold brads and gold cording for the ties.  A little pinking sheers here and some sewing there and I had some great envelopes to hold my gifts.  Simple but precious, I may still add some kind of embellishment, I just haven’t decide what it will be yet or I can leave them as is and they are ready to be put into the Christmas stockings by Santa on Christmas Eve.

My studio is still buzzing with more projects and things are getting out of hand, I think it is time to give the studio a good cleaning and figure out what’s left to do before Christmas.  I am sure many of you can relate to my dilemma of what to make next and whether or not we can get it all done in time, let’s hope we can.

Thanks for letting me share more of my holiday projects with you from my creative studio.  There are more decorating ideas waiting for me to share with you in my next post, be on the lookout for them.  See you soon.

If you enjoyed this post you might want to also read:

Christmas Stockings for Kids
A Quick Gift
Pumpkin Spice Cookies


Saturday, December 17, 2011

Pumpkin Spice Cookie

As promised, here is a quick and easy Pumpkin Spice Cookie recipe.  It was given to me by my brother-in-law verbally and by texting back and forth as I attempted to make them.  I have no idea where he got the recipe or who originated it, but the cookies are just fantastic, so a big thanks to him and whomever created it.  The instructions are the ones I used so they should be good to go but I don’t guarantee the results, give it a try and see what you think.


Pumpkin Spice Cookies

1 box of Spice Cake Mix, any brand will do.
1 can Pumpkin 15oz.  size (not pumpkin pie mix)
1 pkg. of dark chocolate chips or you could try a substitute like
          Raisins, cranberries, or nuts to equal the chocolate chip volume.

Hand blend the box of cake mix, the can of pumpkin and the chocolate chips until mixed together and smooth.  It should be very moist but not super runny.

Drop by tablespoon onto a Parchment Baking Sheet, placed on your cookie sheets, it helps the cookies to cook evenly and come off cleanly.  (Do not use wax paper it will ruin your cookie sheets, what a mess)

Bake in a pre-heated oven set at 375 degrees for approx. 12-14 minutes depending on your oven.  (I baked mine 14 min.)

Makes 4 to 5 dozen 1” cookies.

This recipe was super quick to whip up and very tasty.  If you decide to make these cookies, be sure and let me know how they came out, I am dying to know how you like them.

Recipe compliments of my brother-in-law, Larry.  Thank you so much.


Since I am sharing today I thought I would also share one of my regular reader’s holiday tabletop decorations, she sent me a photo of the small kitchen table, she dressed up for Christmas, which sits in her new kitchen makeover.  Love it June, way to go. 

This table is just darling and screams Christmas, I love it.  If you send a photo of a project you made, inspired by one of my posts, I would be happy to share it on my blog.  Thanks June, for sharing with us.

Watch for my next post featuring a quick gift card holder I whipped up to hold those pesky little cards I am giving out this year.  Happy crafting, decorating and sewing.  See you soon.  

If you enjoyed this post you may also want to read:
*Sparkling Santa Tabletops
*Holiday Sparkle

Wednesday, December 14, 2011

Holiday Ribbon Wall

This was a fun project my husband and I got the bug to do after watching an HGTV Christmas design show.  We were inspired to create a ribbon wall just below the stairway, which faces the dinning room.  Once we decided on the ribbon and spacing between each one, my husband took over and began the project and ended up with some really stunning results. The ribbon created a very elegant look for a ho-hum kind of area in the dinning room.  I will let the pictures speak for themselves.


We chose a burgundy, gold and green plaid wired ribbon which picked up all the colors in the room and the stairway above.  We were both very pleased with the project; my husband did a fantastic job figuring out all the measurements and hanging up the ribbons, what a great husband, I am such a lucky gal.


Time is flying by with lots of baking, decorating, present buying and gift wrapping.  My studio is busy all the time alternating between present wrapping and sewing gifts.  Look for my next post featuring a tasty Pumpkin Spice cookie recipe, sure to make your mouth water just smelling them as they cook.  I will also be sharing more of my decorating ideas right up to Christmas. 


Thanks for letting me share my Holiday Ribbon Wall with you.  See you soon.

If you liked that post you may want to also read:

Sparkling Santa Tabletop
Holiday Sparkle
Christmas Stockings for Kids
Bit of Bling 

Sunday, December 11, 2011

Crafty Lady

As you know I love to share about crafty women and the products they create.  I have another talented lady for you, her name is Anntoinette; she crochets the most beautiful, soft, warm, comfy Afghans, lapghans and baby blankets.  Both my grown children, grandchildren and I all have several of her works of art; we love to cuddle up with her lovely blankets at nap time and wrap up in them on cold winter nights.

Anntoinette is pictured here at a Holiday Boutique which was a benefit for the Alzheimer’s Association, held at the Sunrise Senior Living Home in Danville, California.  She donated a portion of her proceeds to the association, what a great gal.


The colors and patterns are fresh and contemporary with a retro twist.  She has a wonderful website you can visit to see all her work and place an order for something in stock or create a custom order, just perfect for that special someone you want to keep warm on those long winter nights.  Please visit her at her link on her Facebook business page: www.facebook.com/Cr8tiveLefty or you can click on the web link at the, follow these sites section, of this blog page.

This little golden bear is one of the Crafty Christmas Creations designed by me, isn't she pretty with all her sparkle and bling.

Thanks for letting me share another Crafty Lady; I hope you enjoyed a peek at her wonderful work.  Happy Holidays.  See you soon.

Thursday, December 8, 2011

A Quick Gift

I know I haven’t written in a week, things are really getting crazy with the holidays and family birthdays.  In fact my oldest granddaughter just turned five yesterday and I have been very busy making her several of her gifts.  I made the pretty purple coat and blue fairy wall hanging I featured in my Super Studio post, then another quick gift just before she arrived to open her presents.


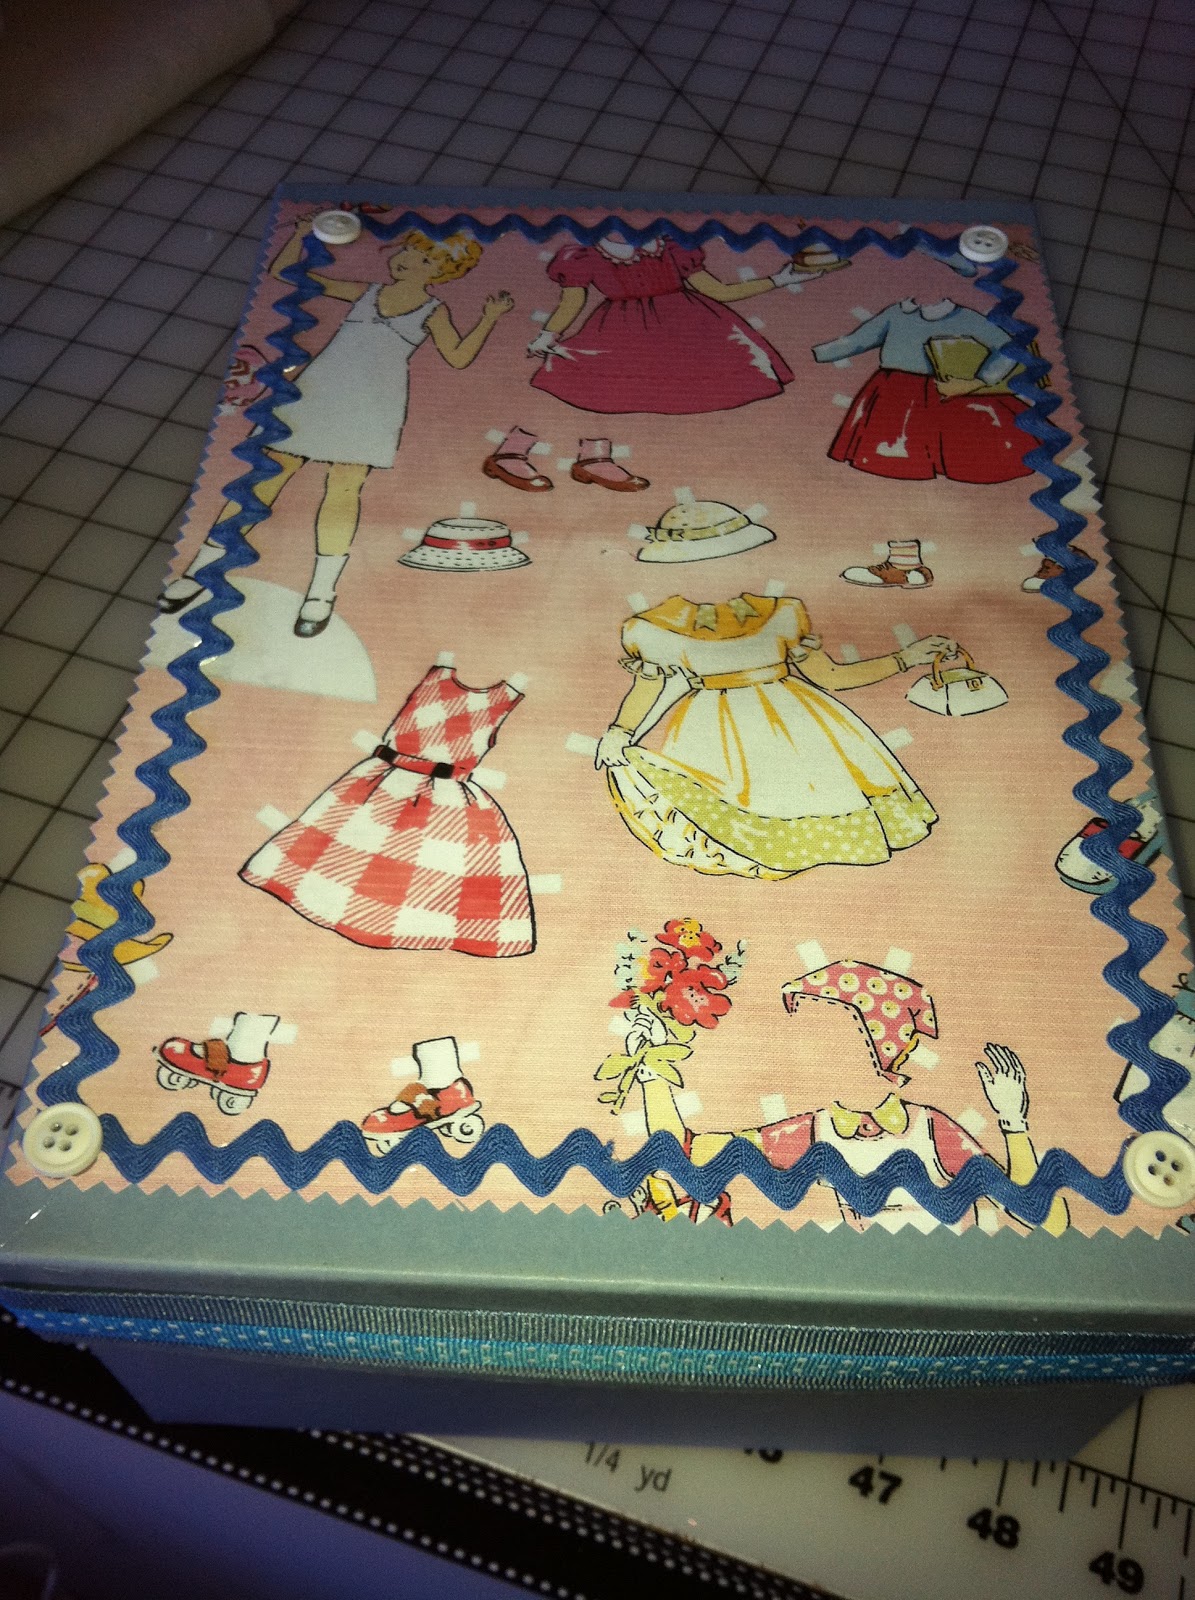
You are probably wondering why the last minute gift and why a box? Well, you see I gave my granddaughter a pretty 18” doll with several sets of doll clothes.  I also bought her a doll trunk, for the clothes, which she will get for Christmas, but I did not think it through.  Where was she going to put all the dolly clothes and shoes until then, they were going to get lost?  I pulled out a blue photo storage box, her favorite color, some rick rack, buttons, ribbons and a photo copy of some really cute paper doll fabric and made up a temporary trunk for the doll accessories.  She absolutely loved everything and has been playing with the dolly, clothes and storage box ever since. Mission accomplished, project completed, good job Grandma.


 Just had to share; this little banner hangs on my studio door, so very cute!


Thanks for letting me share my Quick Gift with you.  Look for more holiday decorations.  Happy creating, see you soon.

Friday, December 2, 2011

Sparkling Santa Tabletop

This year with a new home and a new furniture layout I could not figure out where to start my decorating, I tried a few things here and there but I just could not get into the swing of things.  I fussed around for hours and finally decided to start with my dinning room table, it is the largest piece of furniture in the room and the first thing you see, it would set the tone for the whole room and the other adjoining rooms.  I played with tablecloth colors, runners and center pieces until I landed on a cream, gold, burgundy and green theme for the table and the room.  Once that was decided things just few together as I dug out all my decorating goodies; here’s what I did.


I chose a very basic cream table cloth, a taupe and gold table runner, a really beautiful gold and cream standing Santa, which I collect each year and finally gold chargers with cream napkins and beaded napkin rings. This was my very basic color base which I would use to add the sparkle and bling.


Out came the greens, I could either use silk or fresh greens but chose silk to get a longer lasting centerpiece, but you could use either one and get a fantastic look.  I pulled out my box of bling to add to the greens and went to work adding dimension and sparkle.


I placed some tall crystal candlesticks with some oversize sparkly ornaments on top, and then put them on opposite ends of the Santa to create some symmetry and balance.  More ornaments in different sizes, shape and colors were tucked into the greens to give it extra shine and color variation.  It was still missing something so I pulled out my box of decorative pearls and added those, just the right amount of bling to pick up on the Santa and the tablecloth, more balance.

  
All done and looking very glamorous, I just love the way the dark room came alive, now I have my jumping off point for the rest of the room which should make finishing up my holiday decorating much easier. The tabletop will stay like this until Christmas Eve day which is when I will change it up to make it fun and kid friendly, for our family Christmas dinner, this one is just for show until then.


I can’t wait to start on all the other projects, look for those as the weeks get closer to Christmas, I will try to post them as I finish them, at least a picture or two per project.  Thanks for letting me share my Sparkling Santa Tabletop with you, back to more decorating.  See you soon.


Related Posts Plugin for WordPress, Blogger...