I finally found a few minutes
to post the before and after photos of the toy room makeover we did for our
grandchildren’s playroom. The room has
been used several ways until we decided the best use of it was going to be a
playroom. We sanded and painted the walls, built benches and bookcases, made
curtains and cushions for the benches and decorated it. There are still a few little projects left to
finish but I did not want to wait any longer to share this project, so here are
the before and after shots of the room.
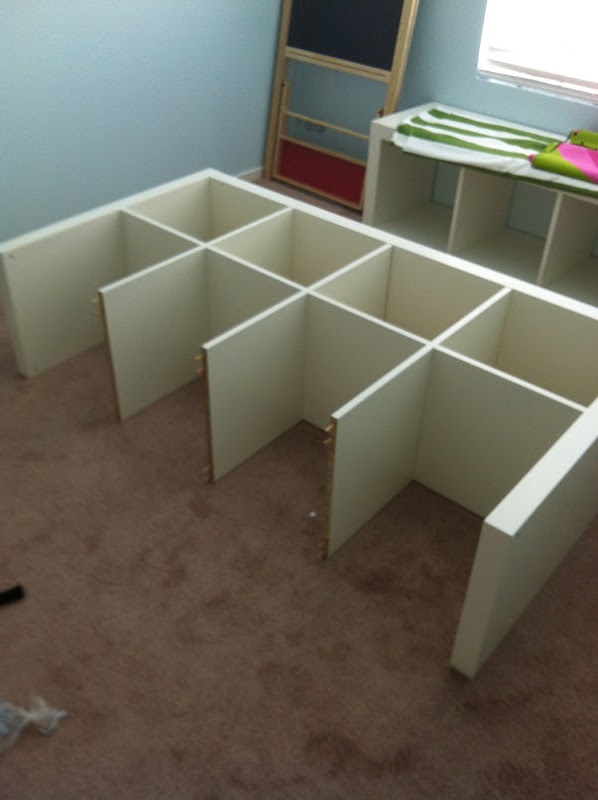
Before & After:

 Initially we had a bed in
this corner which our oldest granddaughter slept in when they came to town to
visit. After they moved back home we put a play size table and chairs there,
now we have the storage benches, a wall mural and a high shelf for books and
toys they are to young to play with yet.
Initially we had a bed in
this corner which our oldest granddaughter slept in when they came to town to
visit. After they moved back home we put a play size table and chairs there,
now we have the storage benches, a wall mural and a high shelf for books and
toys they are to young to play with yet.


 After
After

Before

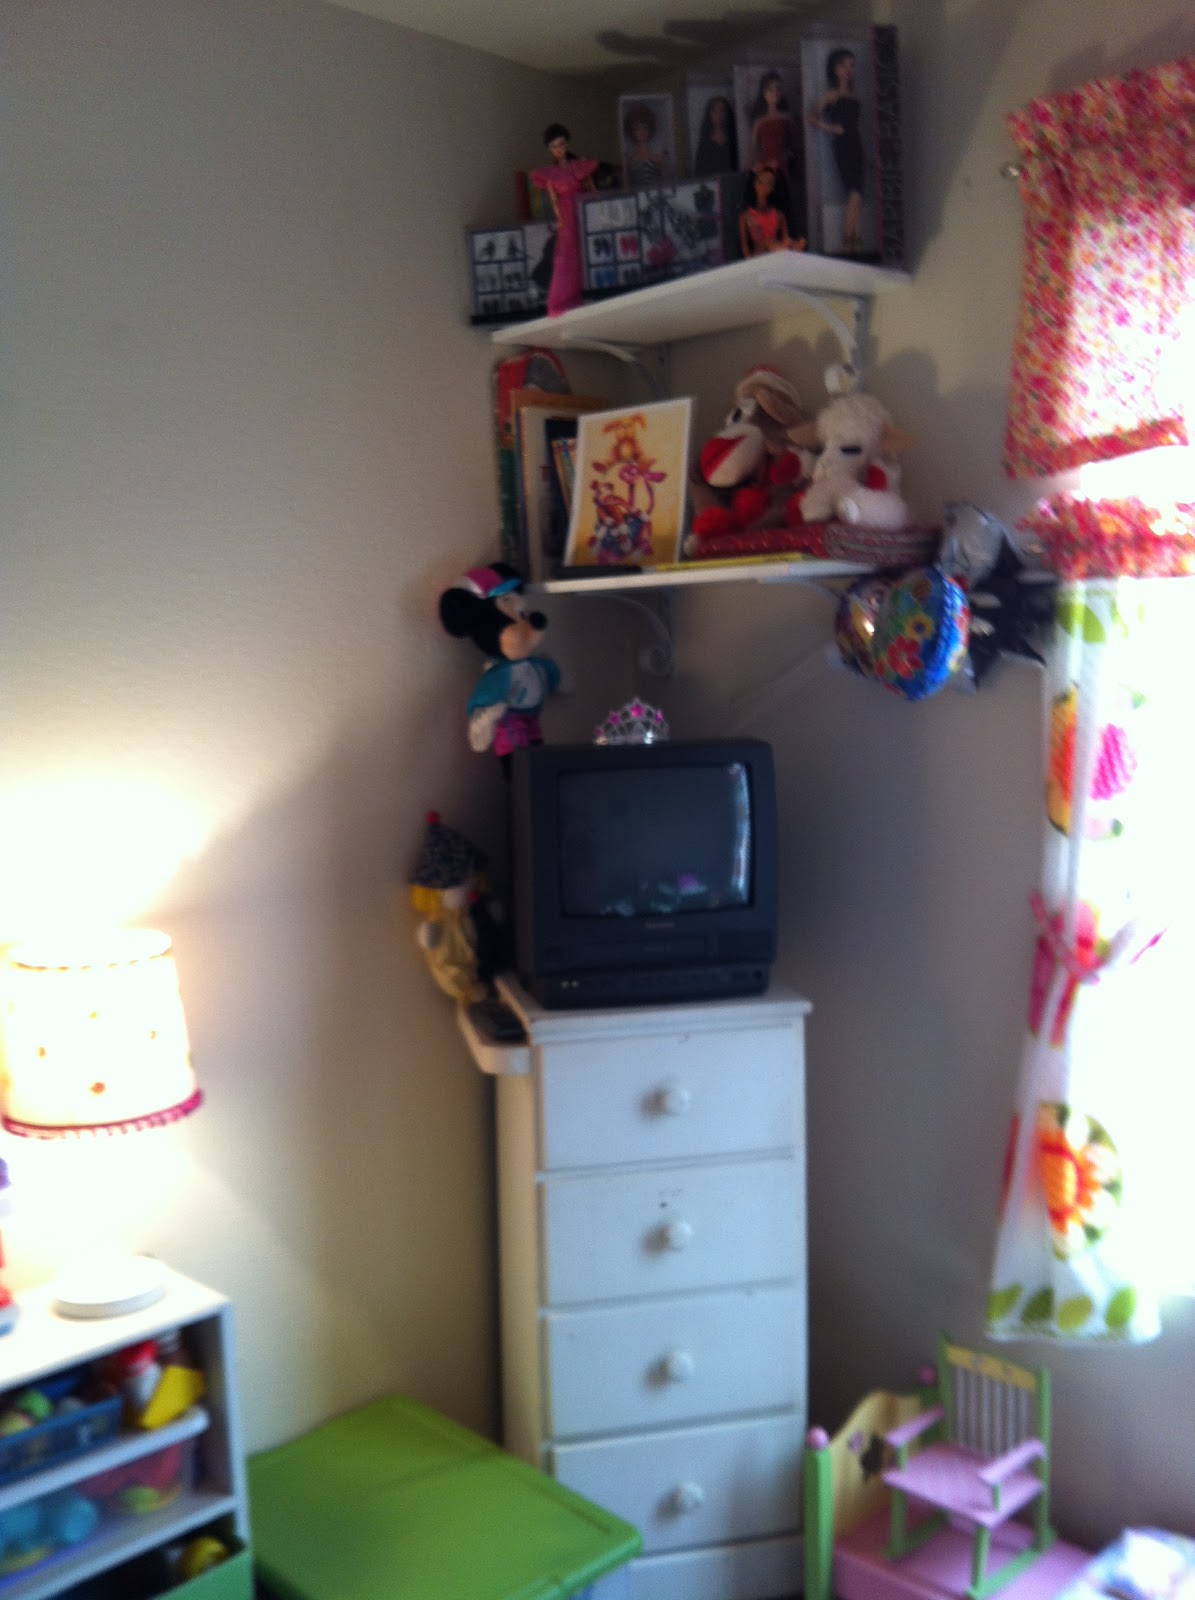
Before

Before


Thanks
for letting me share the toy room makeover, we are very happy with it and so is
my oldest granddaughter, she already loves playing in there.
The New Year: "2013"
The New Year: "2013"
With this new year I am re-evaluating
my blog and where it will go from here, I think there will be some major
changes on the horizon but they are not finalized as of yet so you will have to
keep reading to see what’s going to happen next. See you soon.
Laurette
You
might also like:
Toy
Room Makeover Projects
Toy Room Makeover – 1, 2 & 3 Enjoy!!