Showing posts with label painting. Show all posts

Wednesday, October 16, 2013

Storage For Your Bling

I have a quick sparkly little post for you involving bling! Today’s post is not about sewing but it is about organization for your daily bling which is part of the title of this blog so it is going on this page; here we go.

Like most of you I have all kinds of jewelry I forget about because it is out of sight so therefore it is also out of mind.  More then once while riding in the car I would think to myself, why am I not wearing some fabulous necklace or bracelet with my outfit???  Probably because it was tucked into some drawer, jewelry box or other closed storage item never to be seen again. I have tons of jewelry, from my days as a color/image consultant, sitting in boxes waiting for chunky jewelry to be worn again, the time has finally arrived. I have been scoping out all kinds of stores looking for the right storage solutions to appear but only found a few nice looking options and only bought one of them.

The only piece I purchased was this elegant black velvet three tier bracelet holder from Michael’s for 50% off, such a deal, but still pricey since it is meant for semi professional use in a booth or retail store.  I absolutely love the way my jewelry sparkles when placed side by side on the velvet bars. While writing this post I kept running back and forth to my room and adding more and more pieces and rearranging all the jewelry I wanted out. (This post took forever to write because I kept remembering great pieces I wanted on display and it snowballed out of control…giggles!)

While organizing I found two other items I decided to re-purpose into necklace storage.  The hangers originally hung behind the front door to hold our guests umbrellas and scarves during the winter time and became decorative pieces during the summer months.  The only problem with the pretty holders was they would occasionally fall off the wall if a scarf or umbrella became tangled on the hook then down everything came, total disaster.  We recently put up a new more stable coat rack with lots of hooks and no danger of an accident, leaving the decorative holders without a home.

Into my bedroom they went right next to my pretty dressing table close to my velvet bars; this way the jewelry I wanted to wear most often was on display and ready to use.  I have to say that ever since I put up the velvet bars I have been consistently wearing the jewelry I had stored on it.  Now with the other pieces I just added to it and the holders with the necklaces on the wall I will wear even more pieces this winter and into the spring.  I am very happy with all that bling on my dressing table and wall adding a bit of sparkle to my bedroom, what more could a girl ask for!

Thanks for letting me share my bit of bling decorating with you, I hope it inspires you to dig out some of that seldom worn jewelry, find attractive storage solutions for and put it on display someplace you will see and wear it.  There are a lot more projects finished and ready to share on both my blogs as soon as I can sit down long enough to write them.
See you very soon.

Laurette

Watch for a new furniture painting project, using some exciting new products, which I am in the process of creating over on my other blog. It should be on the blog in the next day or so, keep checking daily to see what I am working on now.


Thursday, October 18, 2012

Toy Room Makeover - Day 1


My husband and I recently decided to turn our very small 5th bedroom into a dedicated playroom/toy room for our three grandchildren.  So much of our home is not particularly child friendly since just the two of us live here, hence the need for a really safe place for the grandchildren to play.  The room has been moved around and been several things in the last two years, I planned to make it into a beautiful boutique style closet for all my clothing and accessories but we felt for now we needed the playroom more.  Oh well they won’t be small forever and we designed the movable elements in such a way as to be able to use the storage in my boutique closet later. Come along with us on our journey to creating a very cool kid space, here is what we did.


I really detested the wall color and finish on the walls in that tiny little room every time I walked in there.  The color was painted a dirty/pinkish beige with very splotchy textured walls which was applied to cover up a ton of damage and stains, not something we did it was that way when we moved in. No matter what I did to the room to brighten it up with colorful fabrics, toys and furniture it just looked awful.


I am not sure we can do justice to the mess the walls were in with these photos but I gave it a try.  The first thing we did was to take sanding blocks and try to sand down the really rough patches, we found if we went to far the damage and stains started to appear so we could only sand the top layer without getting into re-plastering all four walls, Yikes!  That particular part of the project was a long one because we had to brush down the walls afterwards and vacuum twice. We were smart enough to move everything out of the room first.  Once the room was prepped with blue painters tape we began the real work of cutting in around the baseboards and corners, a long process; once that was done, out came the rollers.  My husband also painted the ceiling which really created a light bright room, the walls are not as smooth as we wanted but we did the best job we could taking into consideration the past damage. With art work, a mural, furniture and curtains not much wall should be showing anyway.

Can you guess what color we chose for the room, we asked my oldest granddaughter what color she wanted to see in there, pale yellow or a light blue?  She chose an icy blue to go with all the other fabrics for the curtains, pillows, bench cushions and furniture we were adding to the color scheme.


I could not get a good photo of the room color just yet but you will see it as we work on it day by day, sorry about that. Not much color in this post, I can guarantee there is plenty of it in all the rest of the posts to come.

Thanks for letting me share day one of our toy room makeover; furniture construction is up next, what a difference those pieces made to an empty space.
See you very soon.

Laurette

I am sorry for the strange font sizes in the pint, sometimes the blogger program goes bonkers on me and there is little I can do to change it without erasing the whole thing. Yikes!****

Monday, October 15, 2012

What Will It Be?


With the passing of the one year anniversary of my Buttons, Bows & Bling Blog came some deep thought as to what direction I wanted my blog to go.  It started out being about all the creative ventures from my studio featuring a wide variety of projects which included sewing, crafting, furniture painting, upcycling all kinds of items and clothing, home décor, landscaping, flowers, recipes and just about anything else I could dream up.

Part way though the year I began to direct my main focus on more creative sewing and showing less of all the other creative projects I was doing. The blog emails from some readers wanted a variety of projects and others wanted to see the blog go all sewing.  As a blogger it is tough to decide what direction is best for the readers and me to keep everyone interested over the long haul.  We bloggers live and write to see positive comments at the end of each page and to have a long list of viewers/readers join our blog, in this arena I am not seeing participation from my readers, making it hard to judge what is popular with all of you and just who is actually reading the posts.

Sewing is my first great love; it is why I get up in the morning and what I think about before going to sleep each night but… without the other creative projects I would burn out and probably quit sewing and blogging.  With that being said I am going to continue to focus on all kinds of projects which include fabric and sewing as well as decorating and crafting, hopefully appealing to a wide variety of readers as well as keeping me entertained. With that being said I will be sharing two project series with you, the Playroom Makeover and An Apron A Day.  I am not sure yet if they will alternate or follow each other, I guess you will have to check in to find out.

Thanks for letting me share my thoughts with you about the direction of my blog. My next blog post will feature day one of the toy room makeover, there are a lot of projects including, sewing curtains, cushions, pillows, a wall mural and few painting projects as well.
See you soon.

Laurette

***If you enjoy reading my blog please take the time to enter a comment and like us on Facebook, it would really help me to keep creating and writing.

Tuesday, May 8, 2012

Project Progress


I thought I would share with you some of those pesky little unfinished projects I managed to complete, they were just hanging around in my project boxes collecting dust, now they are finished and ready to be sold or given as gifts.

First up, some cute little zipper bags made in a few fun animal prints, etc… I just love making these; they sew up pretty quickly once you get everything cut and pinned.  I already gave away several zip bags as gifts; I guess I will just have to make more.


I made this sweet little light weight pink blanket for my newest grand-baby, her Mom thought she needed something to cuddle with in the night which was soft but not very heavy.  The blanket is made from two layers of super soft embossed flannel without the traditional batting sandwiched in the middle.


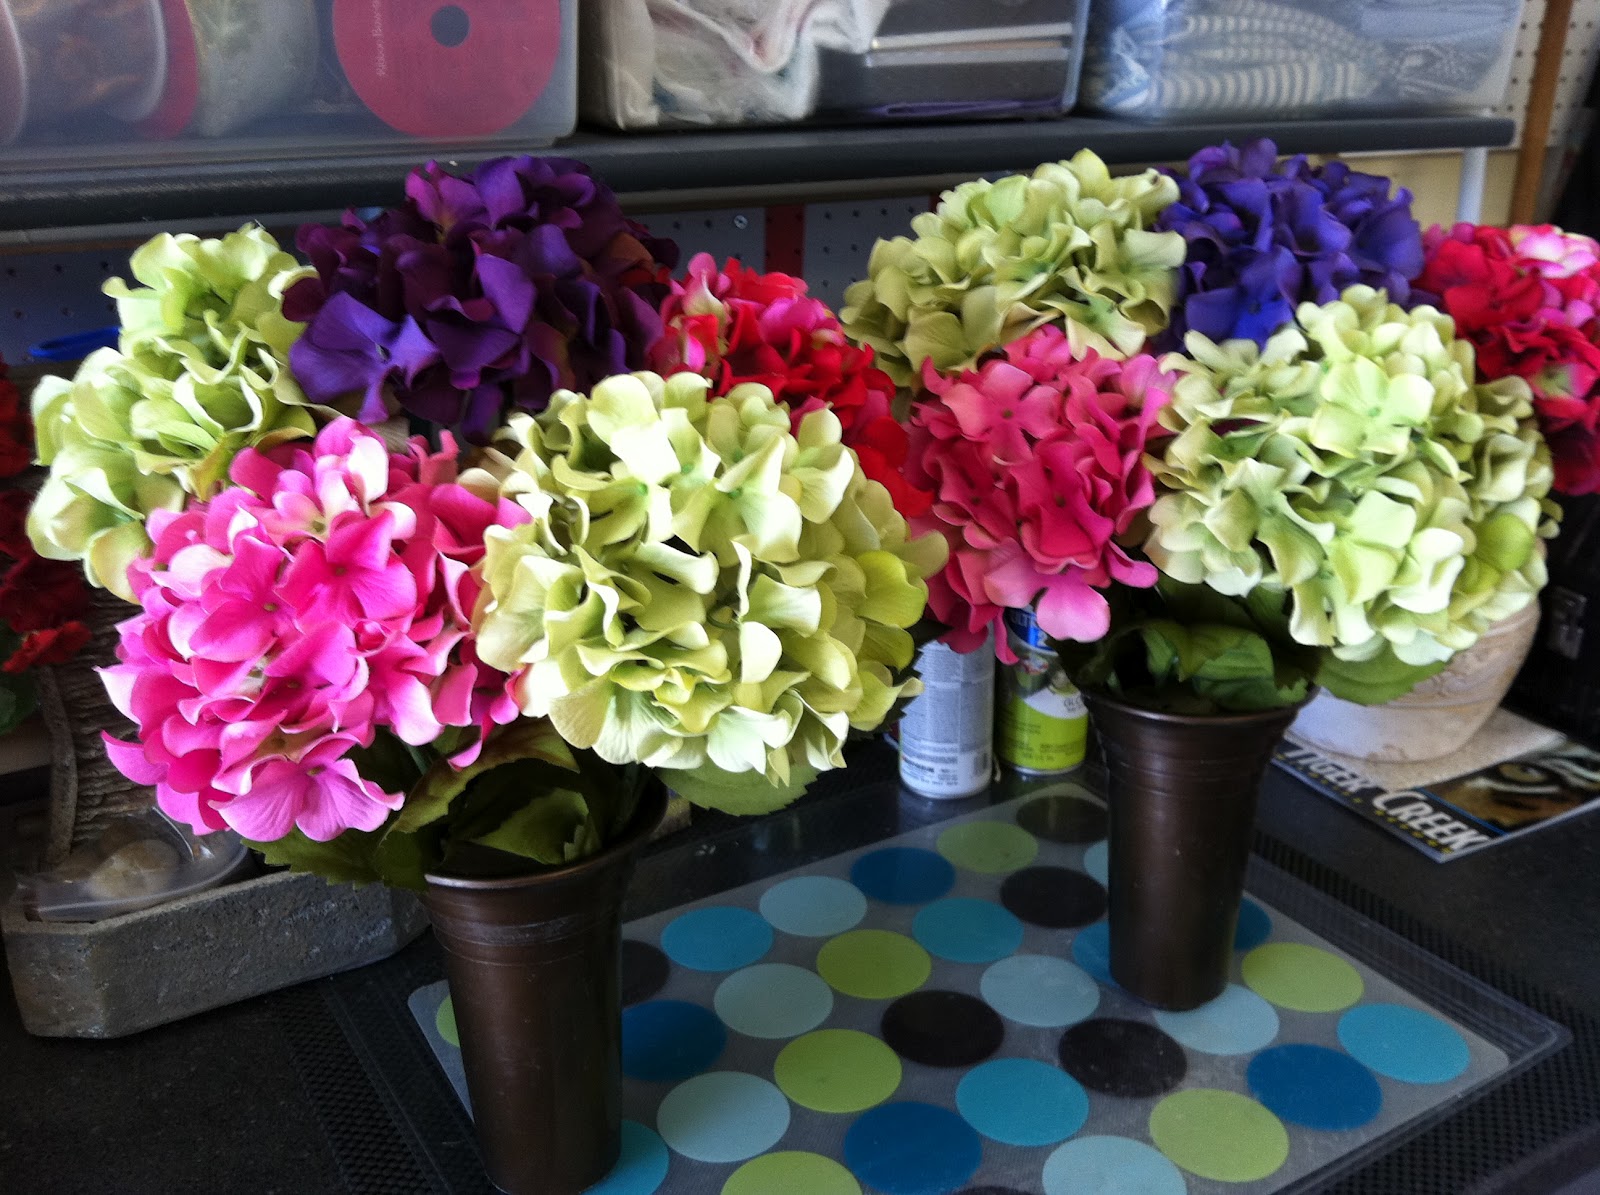
These flowers were not in my project boxes but they were hanging around my studio waiting for me to do something with them.  I finally found the time to create some floral arrangements for my Mom’s grave site for Mother’s day.  I did not need to do very much with them since they were already very pretty.

Last but not least were some standard size pillowcases in fun girly prints.  They were so quick and easy to make, about an hour, each one has its own personality. Check out my Paisley Pillowcases Tutorial from the October 2011 archive file if you would like to make your own pillowcases, you can also join the One Million Pillowcase Challenge, details and the website are also listed on the tutorial.

Another unfinished project was the painting of our kitchen/family room and our front door, which we managed to complete this last weekend, multi-tasking all they way.  It felt great to finish the project we started last spring, now it looks more like home; just three bathrooms, the laundry room, the hallways and two bedrooms left to paint, yikes, that’s still a lot, oh well, progress is still forward movement.  I should have the posting for you in a few days as soon as I take the after photos and format everything, watch for that one probably early next week, Monday, I hope. (The fabric shown here was the jumping off point for the kitchen and family room paint colors)

Thanks for letting me share my completed projects with you, maybe it will inspire you to dig through all your UFO’s (unfinished objects/projects) and make some progress of your own.  See you soon.

Laurette

If you enjoyed reading this post you might also like:

Colorful Fabric Zip Bags
Working With Fabrics
Paisley Pillowcases - Oct. 2011
Fall Floral Arrangements – Oct. 2011


Friday, November 4, 2011

Paisley Crazy - Room Makeover

*Here it is the post I keep promising you, it is a big one with lots and lots of before and after photos of my guest room makeover.  So much to see and share, I debated breaking it up into several posts, but I decided what the heck, just do it, so grab your coffee or soda, sit back and enjoy. Here we go.

It is official, I have gone paisley crazy.  I came across a beautiful set of paisley prints at my favorite quilt shop, Homespun Harbor and just had to have them.  When I first saw the fabrics, I had no idea what I would do with them, they were a mid to large scale size print with some smaller matching prints and the colors were very bright.  I was considering a guest room makeover, in my new home, I hadn’t done anything to the room except drop furniture into it and make up the bed with the linens I purchased for another home. 

As much as I love color, could I be that daring and use those bright new paisley prints in conjunction with the bed linens already on the bed?  Was I that daring? The only other really bright colors were in the toy room, hot pink, and orange, lime green and bright blue.  The answer was “Yes I Could!”  I just had to convince my husband to go along with it, I told him it was just a guest room, not one he would be sleeping in so what could it hurt (unless he ended up in the dog house)?  He didn’t think it was funny but he was willing to work on the room with me (what a great guy).

I used these four coordinating prints in the room on a variety of projects. The fabrics are Gypsy Bandana by Pillow & Maxfield for Michael Miller Fabrics.  These great fabrics also come in a pink, green and red pallet as well as a red, yellow and green mixed pallet.  You will see some of those other color prints in future sewing projects.  I really did go paisley crazy when purchasing this line, I don’t know if I bought every color combination but I gave it a good try. 


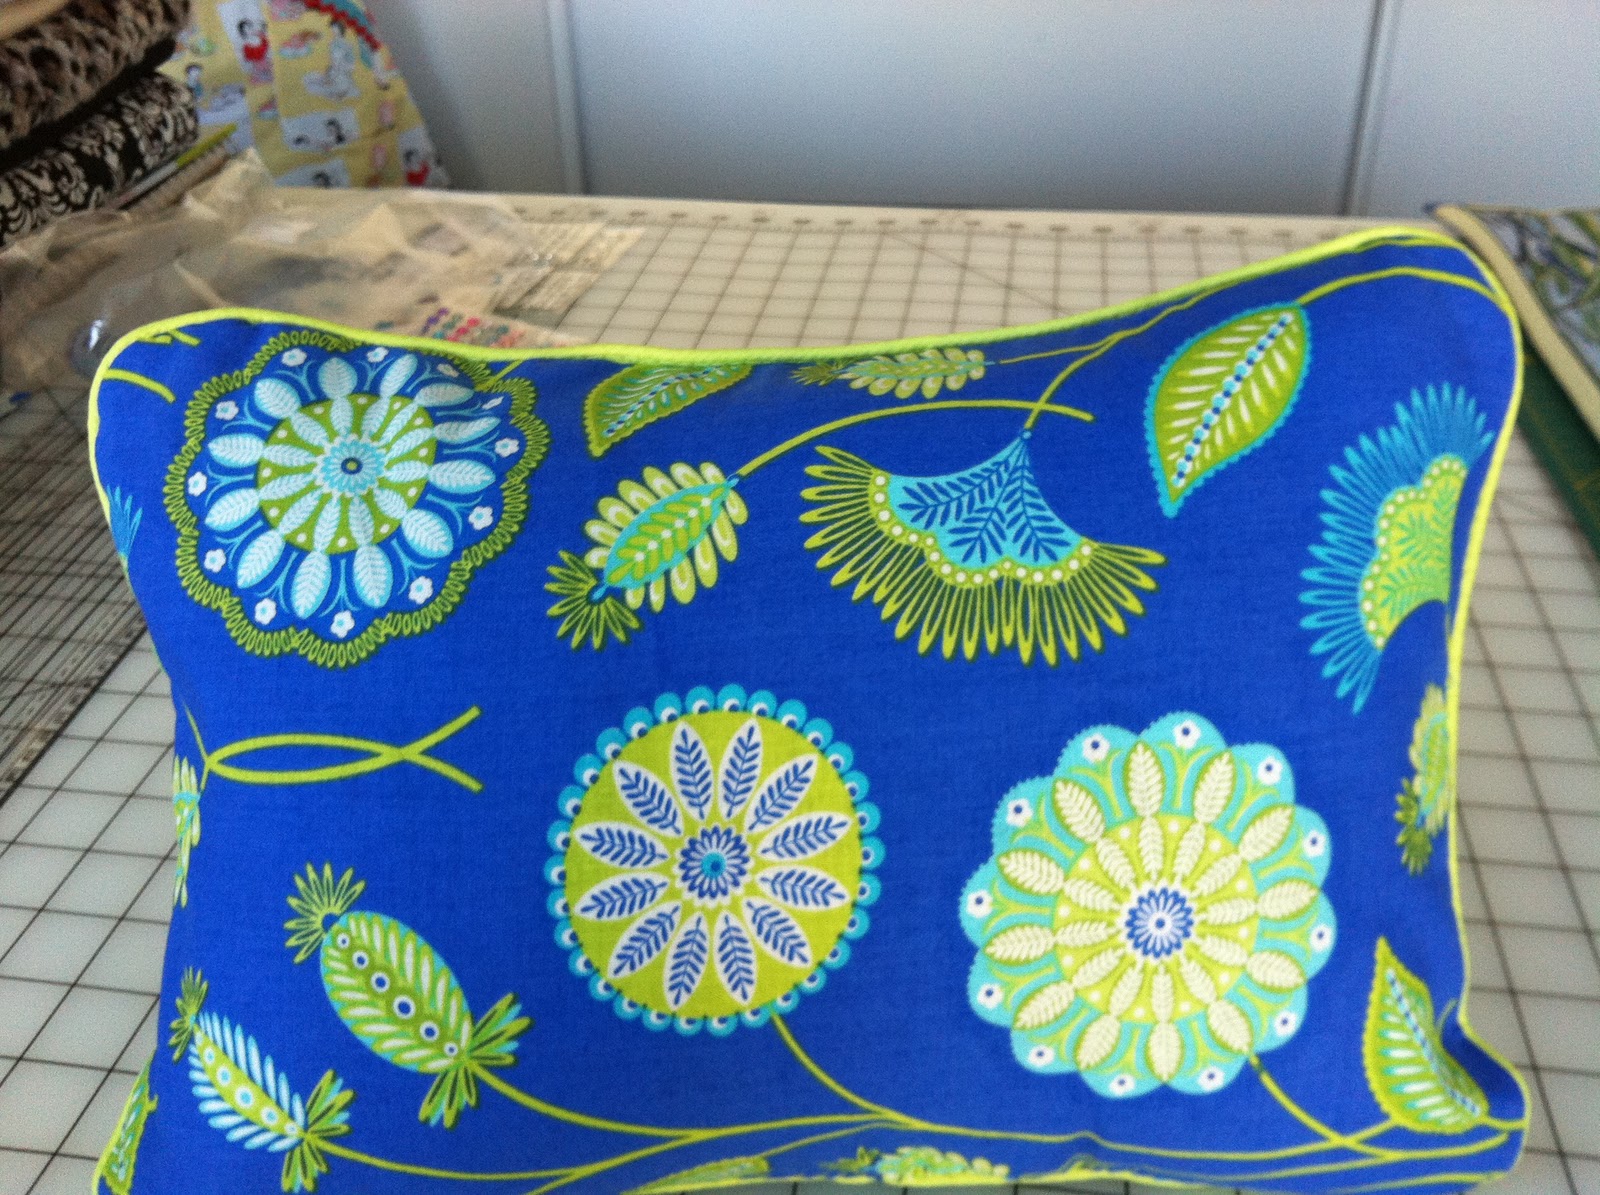
First up is a reversible pillow from two of the blue complementary fabrics.  This little pillow was not the first project I did; in fact, it was the final piece before company came to visit the next day.  Talk about cutting it short.


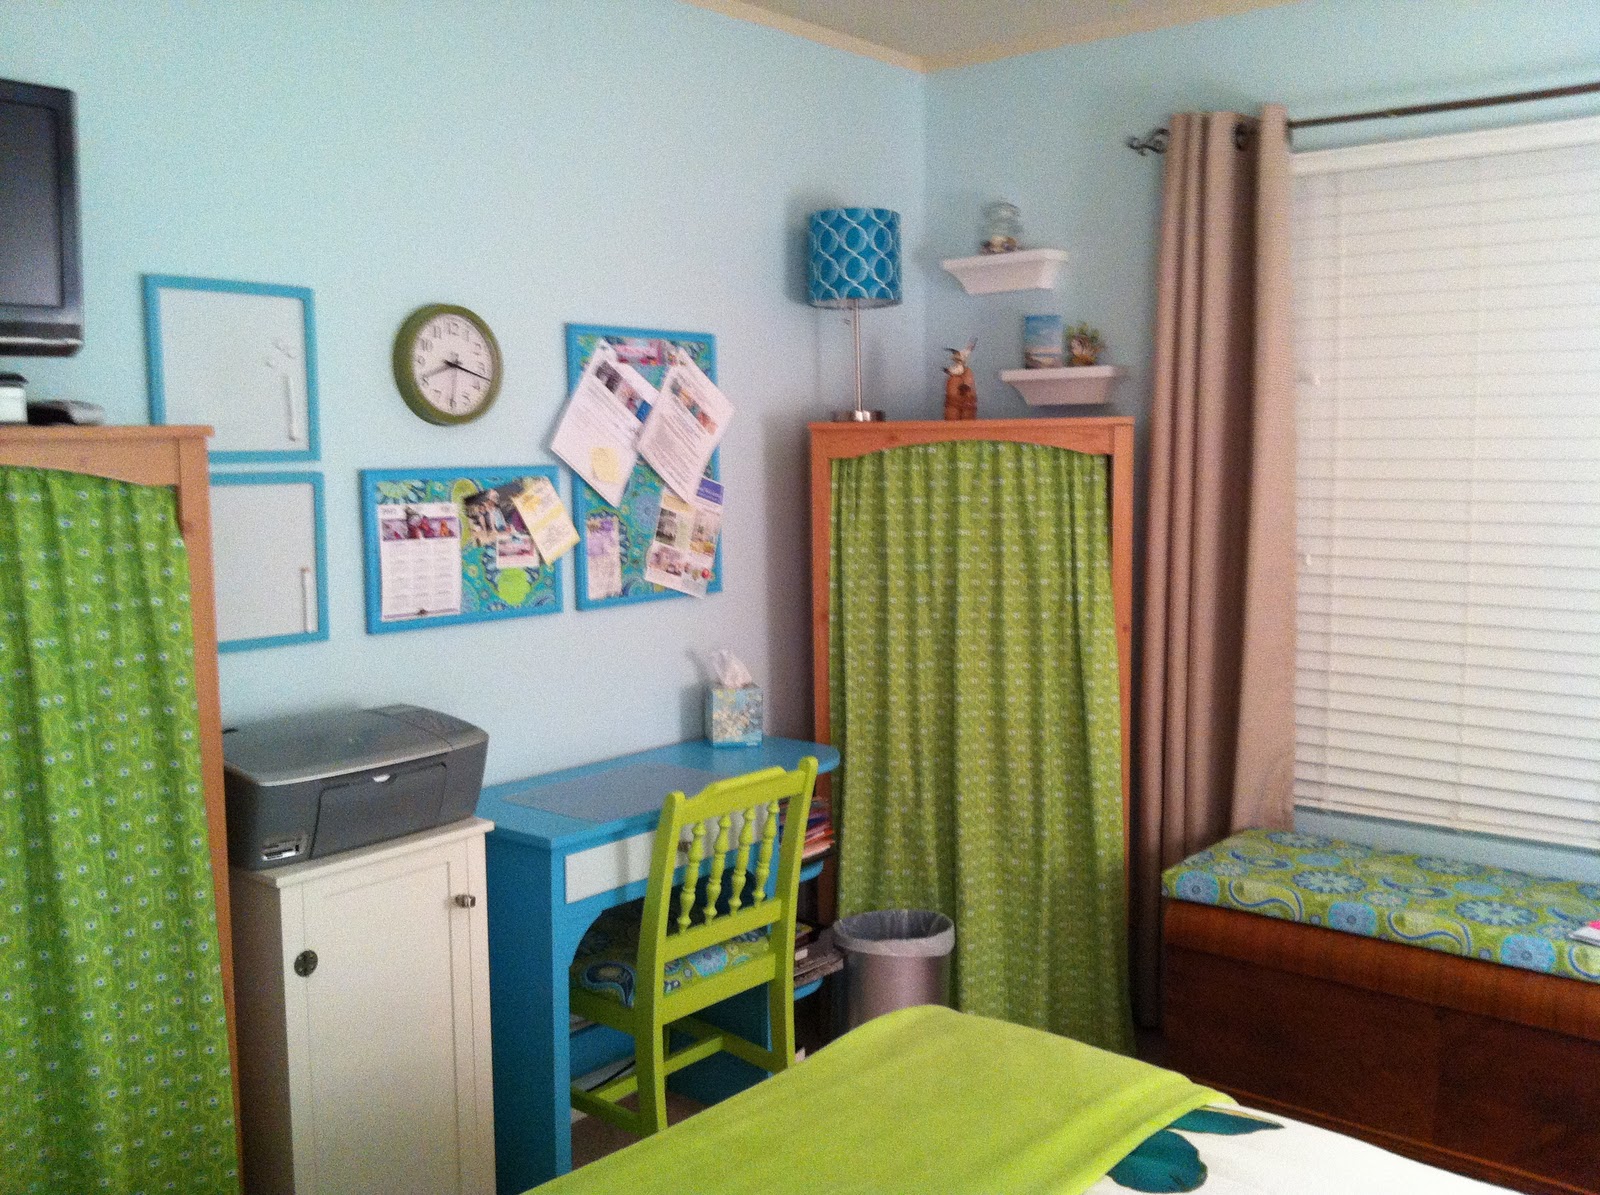
Part of the guest room makeover was due to a relocation of my computer desk from the studio into the rarely used guest room.  I needed a better flow in the studio and more counter space, which meant I would need an office, so we moved it to one wall of the guest room.  This allows for use of all of the upstairs rooms, no empty unused spaces. I wanted to make all the accessories fit into the guest room so they would not stick out, requiring a bulletin board makeover.  I gave two frames a quick re-paint, with paint I had custom color matched, and then recovered them in one of the coordinating fabrics.

Next up was a new cushion for the top of my Mom’s cedar chest; it makes a great window seat on cold winter days.  The green paisley fabric was just the right fabric for the project.


An old chair was given to me by a friend who thought I could “do something” with it.  It sat in storage forever before I decided it would be a good fit for the desk.  This time I used spray paint instead of trying to hand paint all the nooks and crannies.  I pulled up my big girl panties and got to work spray painting it a lime green, oh boy was I stepping out of my comfort zone, but what the heck, it is only paint and could be re-done if I did not like it.


Next came recovering the chair pad with new batting and the green paisley fabric to match the window cushion.

Good as new and looking fun and funky.


The chair was not the only thing in the room to get a makeover, the desk the chair sat at was a complete disaster, it is over 60 years old and it was the desk my Dad sat at to study while he went to law school.  My older sister, I and my daughter all did our homework at that cute little desk and now it was back with me in my office.  The first thing I did was sand the heck out of it with my mouse sander (palm sander), rubbed it down, much better already.


I painted the desk to match the bulletin boards and the lighter blue paisley fabric, very pretty and ready to go back into the room.

Two low dressers were next; they are probably as old as the desk and needed the same treatment as the desk and chair.


This time only the dresser shells got the blue paint, with the drawers all getting the icy blue paint, we used on the guest room walls.  I added silver brushed nickel knobs in place of the old gold ones, very trendy.


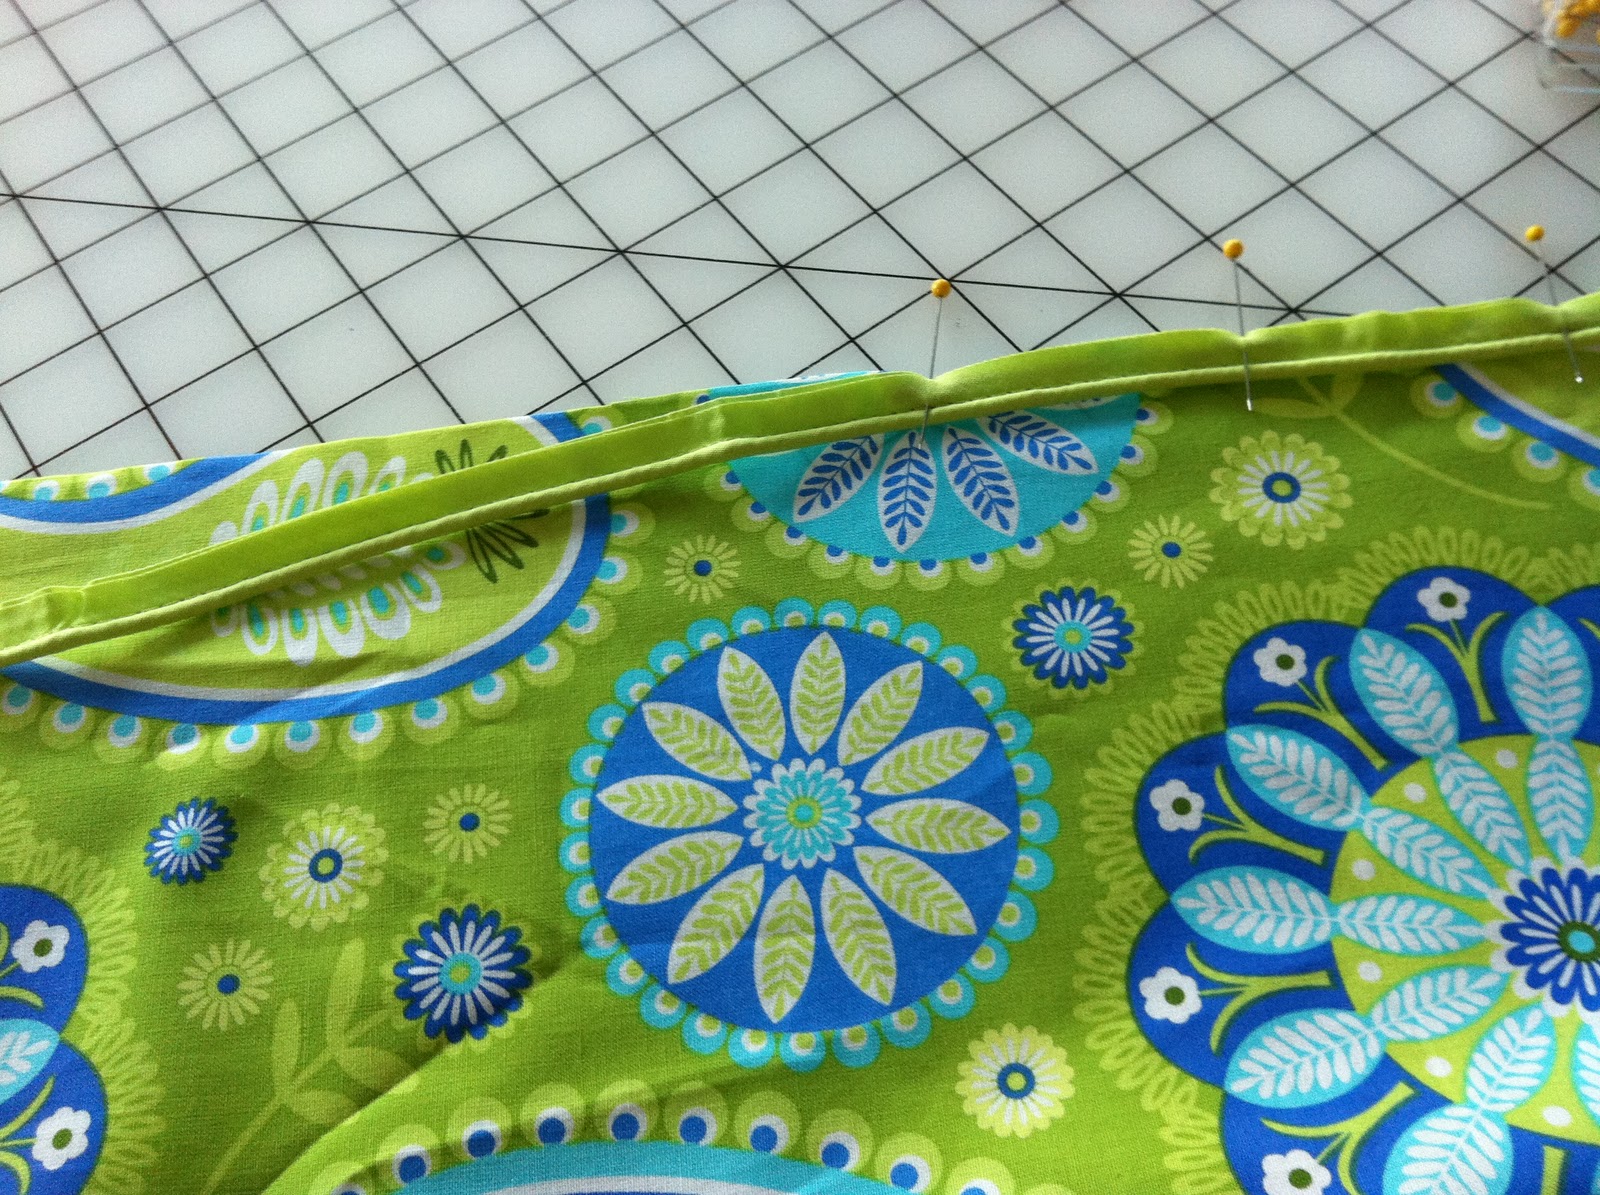
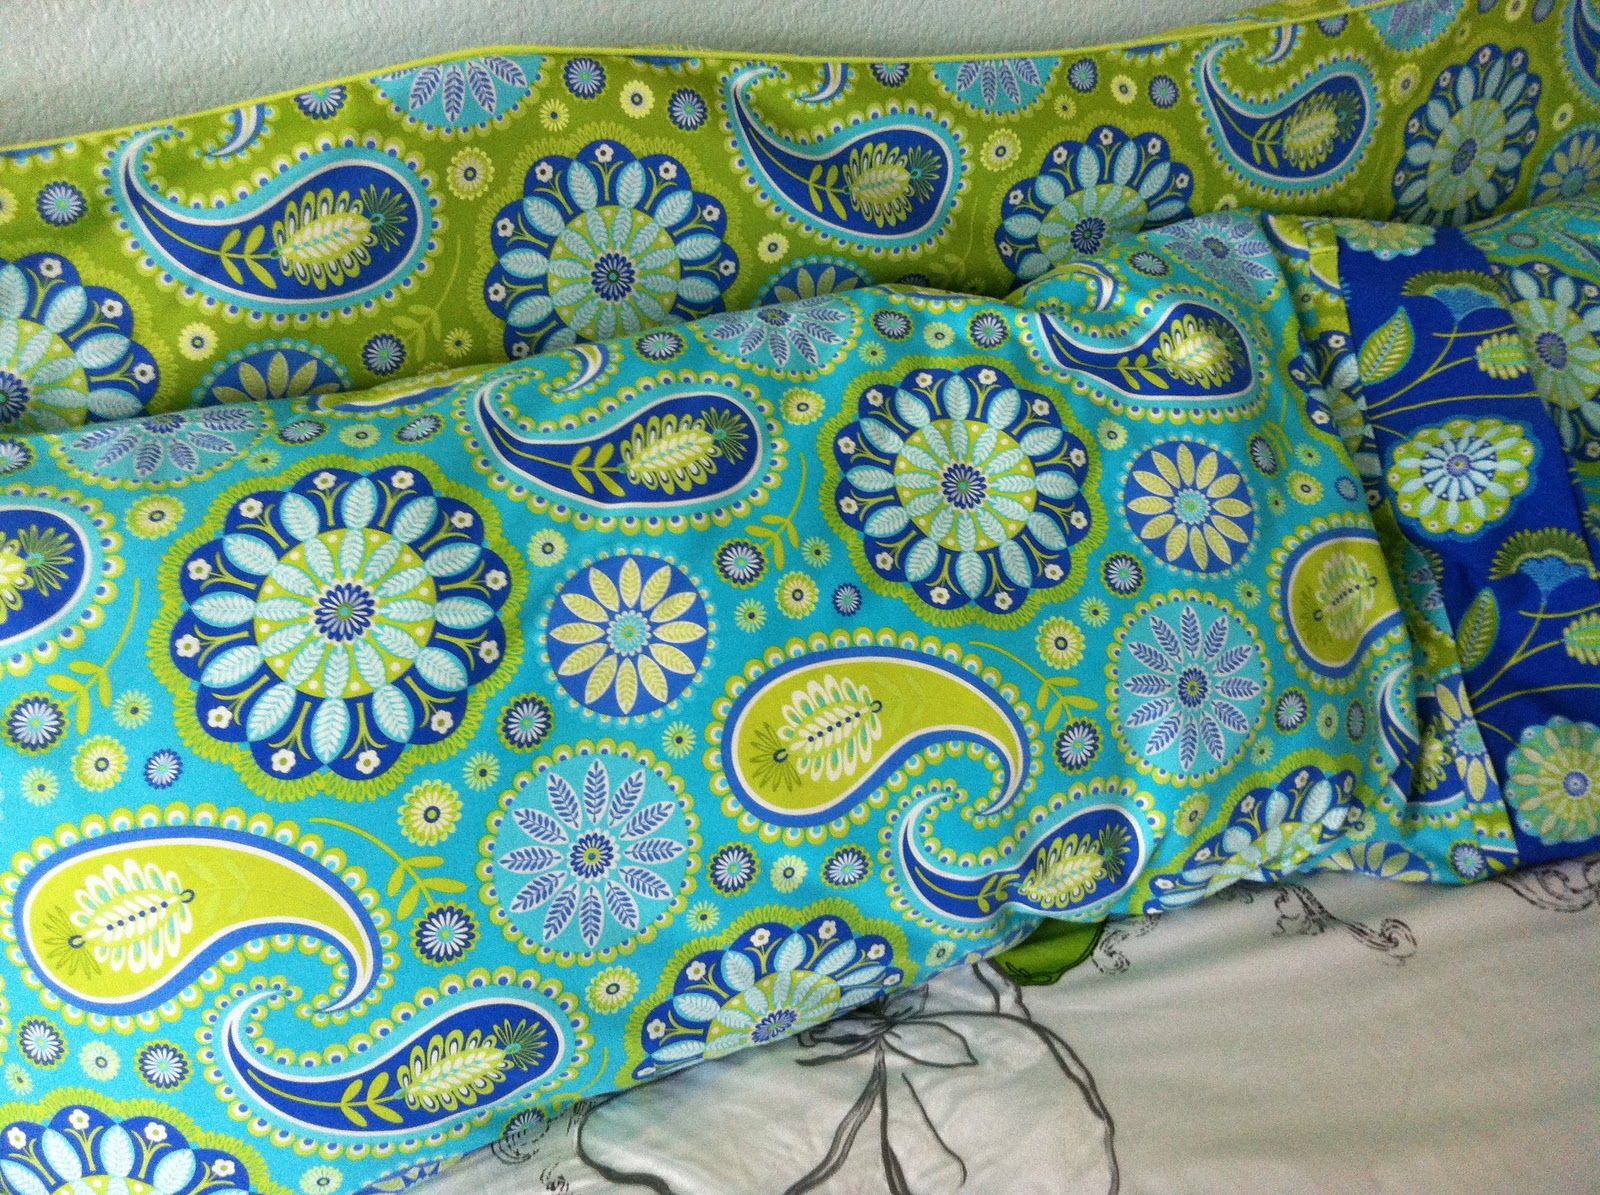
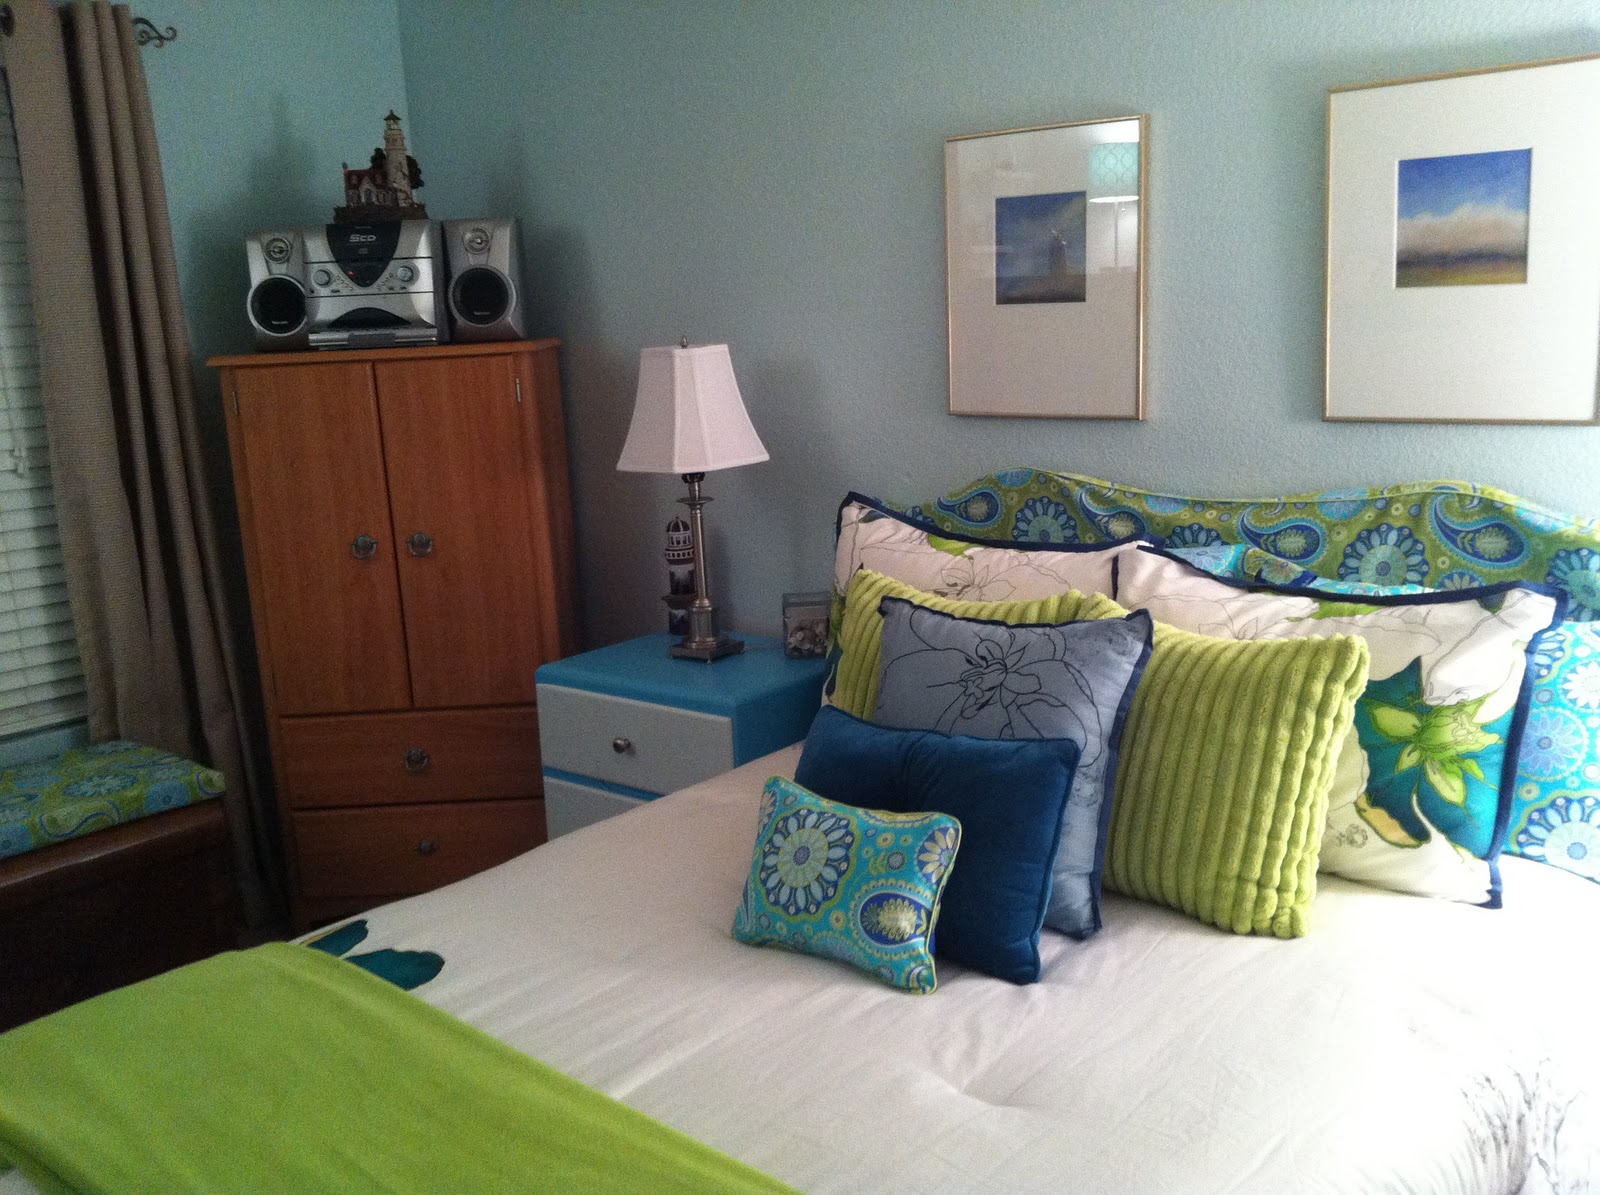
Last but not least was the headboard, it was a wooden style headboard very dated and not good color matches for the other furniture.  I did not want to paint it since it belongs to another set of furniture I have in another room, what to do?I got the idea to make a headboard cozy to put over the wooden one, it could be removed to be washed or to change the look if I got tired of the paisley fabrics.  I used a matching piping along the top edge to give it some body, I was set to go.  I had several extra king sized pillows hanging around so I made custom pillow cases to create a softer headboard to sit against, kind of like body pillows.  See previous post for easy pillow case instructions any level sewer can use.


The paisley fabrics really brought life to a dull room making it colorful, fun and trendy, a great place to work and for guests to stay in, no dark burgundy and forest green for me.  Stepping out of my comfort zone was scary but lots and lots of fun to do. After all it is only fabric and paint and can be changed at anytime, but not too soon, I’m still tired from all the work.

Thanks for letting me share my office/guest room makeover with you.  See you soon with more colorful ventures from my studio and a peak into my all time favorite quilt shop.  Lots more creative fun coming your way.


Where to buy:

Homespun Harbor A Quilt Shop
341 Tres Pinos Rd. Ste.101
Hollister, CA  95023
831-630-9438

Custom mixed paint and spray paints:

Ace Hardware
Hollister, CA 95023
Check your local area for an Ace Hardware near you.


Related Posts Plugin for WordPress, Blogger...