Showing posts with label plants. Show all posts

Monday, July 2, 2012

Rock'n Garden


I had no idea I was going to be away from my blog for so long, this spring and summer have been full of events, projects and entertaining almost non-stop, keeping me pretty tied up and unable to write about all the fun we are having. I can’t remember when we have been so busy at this time of the year. Because I was gone so long I thought I should start sharing some of the projects we have been working on. 

This weekend’s project was in the backyard re-working some of the existing landscaping.  The yard was once a real showcase with lots of expensive designer landscaping all around the whole yard, because it was empty for over a year just about every area suffered neglect. Space by space we have been re-working and re-using as many of the existing plants and landscaping materials as possible.  There were a ton of river rocks all over, which had once been artfully placed to show off each specific area, little by little we dug up the rocks and repositioned them so they could be seen instead of being buried in mud and debris.  After two years of backbreaking labor we just had one area left to complete.  It was the area hit hardest with flooding whenever it rained and the gutter ran too fast, the water backed up into the lawn and the garage.  The soil in the rock beds had built up with sediment and leaves over time, creating a back up not allowing the water to drain, which meant it was a big project, it went to the bottom of the list until we had the time to fix it properly.  It was time to complete the landscape and eliminate the flooding; we are having the baby shower in two weeks and we want to have the party outside on the patio, weather permitting.

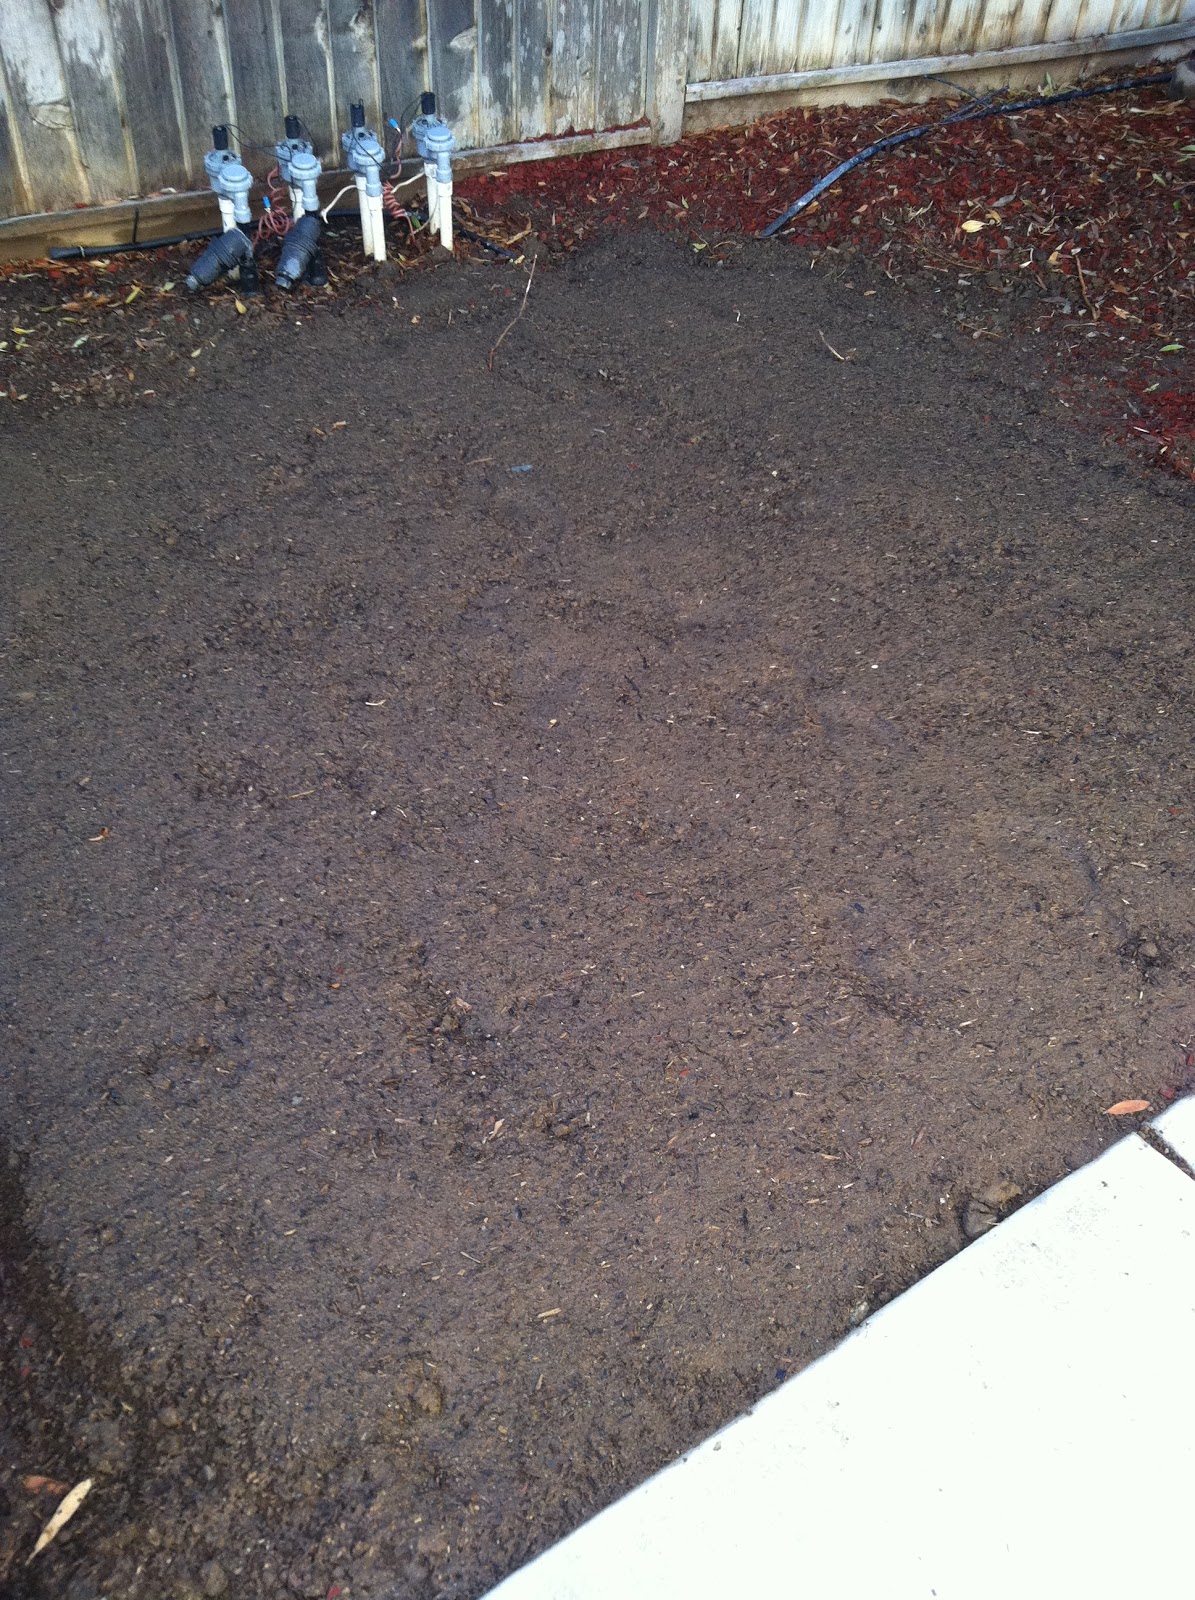
Stage 1: Work in progress


After:

For some strange reason the rocks had been originally placed up by the plants with a huge open area of dirt between the bender board and the green plants. We thought maybe there had once been rocks there but had no way of knowing so we did some digging and found quite a bit of rock under the mud.  We dug them out and washed each of them off then re-positioned them next to the bender board forming a nice little river rock boundary for the water to run over during the rains.  Once we had the rock in place we finished up by adding Scott’s Nature Scape in Sierra Red, very pretty creating a nice contrast with the red up against the rocks and all the greenery.


This was the area which created the build up of soil, leaves and eventually excess water when it rained.  We had to do a lot of digging to find the rocks under the sediment which we removed by digging out the extra soil and rocks then putting each stone back one by one.


Everything is back in place, all the rocks were cleaned up as well as the planting beds which got more of the Sierra Red bark to add contrast and cut down on weeds.  This project took seven hours of tedious, backbreaking work over a two day stretch to complete.  My husband and I were thrilled to be done and very happy with the final results, I don’t think we will be doing anymore bending over or digging in the next few weeks or until our backs recover. Our landscaping projects are complete, at least for this year; next up is my patio makeover which I hope to get finished by the baby shower, fingers crossed.

Thanks for letting me share our Rock’n Garden with you; I hope you enjoyed the last of the landscaping projects for this year, next spring we hope to be refinishing the patio pergola and moving onto some larger backyard projects.  I am not sure what else I will be sharing with you since the baby shower is coming up in a couple of weeks, I hope to have time to show you some of the projects we are working on for that, including some yummy snacks for the ladies.
See you soon,

Laurette

You might also like:

Time For Lime
The Red Door
Mailbox Makeover
Rose Rescue
Spring Shed


Monday, April 30, 2012

Spring Shed


Hello everyone, I am back, I wasn’t sure if I was going to be able to continue writing a blog with all the crazy events going on in my life. There are still lots of stressful and non-stressful things and events happening over the next couple of months but I found I really missed my creative life.  I didn’t feel like myself without being in my studios creating and sharing all my projects and adventures with you.  I have so many summer painting projects planned for the house and outdoor garden area, not to mention all the great colorful sewing projects waiting on my sewing counters.  There is going to be so much to share with you, I will just have to figure out how to find the time to create and write around all the rest of the craziness of my life.  I thought I would start off with the outdoor shed project we did at the beginning of spring, the one I kept promising to share with you, there are a ton of photos, enjoy.


This was the area we chose to place the shed, it was a pretty space but one which could not be seen from the backyard or out the windows, kind of a blind spot.  I hated to demolish it but it was the only spot large enough to hold the shed and not create an eyesore when looking out any of the windows.


The first thing we did was to remove the storage box, then dig holes on the hill so we could transplant the tree and plants up there instead of dumping them into the green-waste container; the hill is beginning to fill in nicely with all the extra plants, no more baron land. Then it was time to level out the area, but first my husband had to remove a bunch of very hefty roots with a pick ax, they were a good two inches in diameter from the tree next door.  They were heading under the concrete towards the foundation of our home, yikes, that was not a good thing, problem solved.

All leveled with top soil and ready to go.


Floor and outside shed frame are going up, a snap and lock kind of thing with a few nuts and bolts to hold it all together.  A super quick process when you go by the numbers.


Here the walls are going up starting with the back wall, then each side, leaving the front open for the doors. The blue tape had the numbers on it for easier piecing, kind of like making a giant jigsaw puzzle.


Time for the roof and doors to be installed by my husband and son-in-law.  I was able to help until we got to the roof, way to heavy and I was too short to lift it up so we recruited some help for this part, thank goodness my son-in-law had a few minutes to come over.


My very happy husband with his new storage shed up and ready to use, did I mention he assembled it in an hour and a half, wow!  I think that is a new record or something, I was a very proud wife.  Now we have all the storage we need for our outdoor furniture, cushions, umbrellas, pillows and extra folding patio chairs, finally.  Our new home was a little short on storage, I was very happy we were able to find the space and solution and get it done so quickly.  Another problem solved, just a few hundred more to go.

Thanks for letting me share our spring shed project with you as I return to my creative life again.  I hope you enjoyed all the photos and it inspired you to tackle a problem solving project of your own.  I am not sure what is up next so I guess you will have to keep and eye out to see what else I may be sewing, planting, painting or decorating.  See you soon.

Laurette


Tuesday, February 28, 2012

Spring Studio

On a recent trip to Monterey (California) I stopped to do a little shopping before heading home.  One of my stops was the local Michael’s craft store, we don’t have one in Hollister, I always stop and shop if I have the time.  While walking the isles my Husband and I came upon the silk floral display, the beautiful spring and summer flowers were showing all their bright pretty colors.  I could not resist picking up some new silks to brighten up my black & white studio.  I know, I know….most interior designers hate silk (fake) flowers and plants but I happen to love them, at least the ones which are made well and actually look real.

The silk flowers I chose for my studio are super fun with polka dots all over them, they don’t look real and I did not want them too, they were chosen strictly for their fun factor and cuteness.  A touch of spring has sprung in my studio giving it a pop of color and a bit of a lift on those still cloudy days, at least until the sun can shine everyday, all day long and I can add live spring flowers into the mix.

I did pick out some truly beautiful silk hydrangeas for new spring arrangements for my Mother’s grave site, I should have those finished and delivered in time for Easter. Of coarse real flowers are always better on display, but sometimes, due to weather, location or time, silk flowers and plants are just right for any occasion.

Consider adding a splash of spring color to your own creative spaces and home décor by incorporating some pretty silks; brighten things up while you wait for the real spring flowers and plants to arrive.

Thanks for letting me share a splash of spring with you.  See you soon.
Laurette

If you enjoyed reading this post you might also like:

Fall Floral Arrangements
Stairway Garland


Related Posts Plugin for WordPress, Blogger...