
Day 2 was all about putting
together the bookcase/bench units we purchased at IKEA several weeks ago. We purchased two single IKEA EXPEDIT
bookcases which could be used in a number of different configurations; ours
would be turned on their sides to create very sturdy benches for the adults to
sit on while they played with the kids.
Several shoppers at IKEA tested them out with us to make sure they would
be safe to sit on, it was lots of fun. That place is a mad house on the weekends,
don’t ever go there then, go during the week, totally a crazy but fun
experience I would not repeat anytime soon.


These wonderful EXPEDIT
bookcases came in very heavy six foot long boxes. They are the build it yourself style
furniture using wooden pegs and an Allen wrench. I must say they are very well
built, the pieces are substantial and everything lines up perfectly unlike some
of the other build it yourself furniture out there, my husband was impressed
with the easy installation of the pieces.

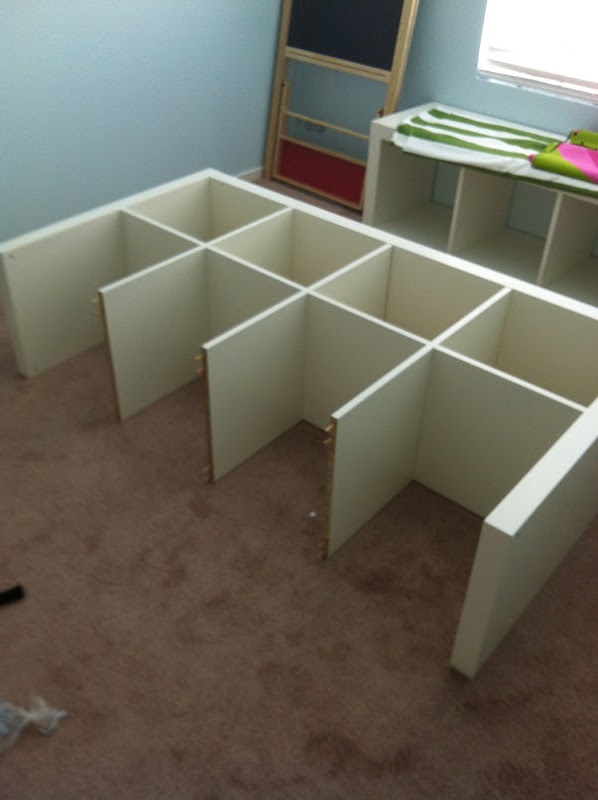
The first two single
bookcases went together pretty quickly and before we knew it we had our two
corner bench pieces ready to put into place.
Don’t they look great, sturdy too!

Up next were the double
bookcases which we planned to put on each side of an existing bookcase we
already own and planned to use in the room once it was given a new paint
color. The double bookcases went
together the same way just taking a bit longer with double the pieces.


Once we had the bookcases
assembled they were much bigger then we thought they would be in width but not
as tall as we needed to keep little hands out of the big girl toys they were
not ready to play with yet. What to do????
We tried several different configurations but ultimately ended up
turning them on their sides and stacking them to gain about four inches in
height, which should do the trick. The
bottom two rows are for the toddlers and the top two rows for the 6 year old,
an even split. We had to leave out our
existing bookcase and send it to storage for the time being, one less project
to paint.

Thanks for letting me share
day 2 of our toy room makeover, day three is the beginning of the fun part,
decorating the room. There will also be sewing projects and painting projects
some of which will have to wait until we return, after our new grandson is
born.
See you soon.
Laurette
You might also like:

Toy Room Makeover – Day 1
No comments:
Post a Comment