Showing posts with label crystals. Show all posts

Saturday, August 25, 2012

Blue Box Bling


I have a short bling post to share with you today about these small blue boxes which I used on my desk in one of my old studios. I did not think I would have room to use them in my current studio until I moved things around on my work counter and found room for one of them. The boxes were kind of basic looking, not very impressive and definitely did not have any bling factor.  Because my studio has icy blue walls with a lot of black & white accessories I try to keep everything pretty consistent and not bring in too many other colors.  Here is what I did to make the little box fit in with the other accessories on my counter.


The box started out a shiny basic light blue, not much to look at so I went to my stash of stickers and pulled out some with black scroll work on them, I placed them on the front and sides.  I did not put any on the top because I usually put little things on the top of the box.


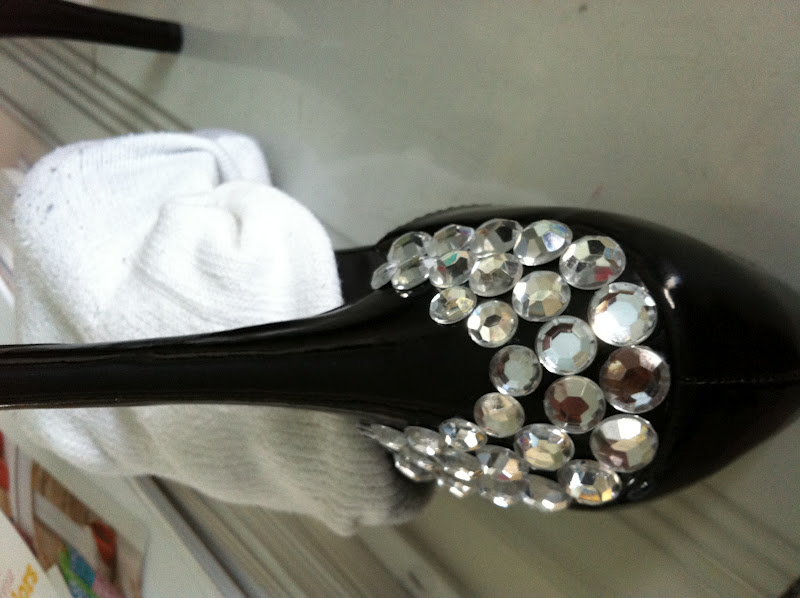
It was still missing something so I got out two different kinds of stick-on crystals and applied those creating the finishing touch for the little blue box.
All done and ready to put on my work counter where it will get plenty of use holding my Post-it notes and other small office supplies.

I am going to be away from my computer for a few days so watch for my guest blogger on Tuesday, that is if we can work things out with Google/ Blogger. It seems I have used up my allotment of photos allowed or some such nonsense, which means I may have to close down my blog with Blogger and go to another host.  I will try to post and let you know if I can, unless they just totally shut me down altogether, which would make me totally mad.  Fingers crossed we can work things out; I would really miss writing for all of you.
Hope to see you soon.

Laurette

Thursday, May 31, 2012

Bling Those Shoes - Part 2


In April I shared with you about the darling Anne Michelle shoes I scored for only $5.00, while I was on vacation in Pismo Beach, which I planned to cover with crystal gems (inspired by the blog New Dress A Day).  I worked on them right away but did not get very far, it takes a really, really long time to hand glue each stone on one by one, what was I thinking?!  After several attempts I put them aside frustrated because it was taking forever just to get a couple of rows done at a time.  I finally got tired of constantly dusting the shoes and moving them all around the studio to keep from damaging them so I picked them up, put the shoes on my work counter and started gluing on the stones.  The hardest part was trying to decide what pattern I was going to make, I originally wanted to cover the whole heel but got discouraged part way though so I switched it up and only covered the hefty part of the heel then I ran stones down the center with spaces between them. Once that was done I placed three of the smallest gems down the center of the bow on the front of the shoe giving it some bling, why should the heels get all the attention, very cute.  Here is my progress from start to finish.

I turned the shoe upside down so I would not get glue all over the outside as I handled it. I used Krazy Glue because I did not want the stones to fall off if the shoes ever got worn.  The smallest stones were hard to handle so I used bent nosed tweezers to pick them up and dip them into the glue then placed the gems onto the shoes.

I kept getting glue and finger prints all over the shoes so I pulled an old soft sock over the shoes which kept them clean and from moving around all over my work counter.

This photo shows my first finished shoes with tiny spaces between the gems running down the high heel of the shoe.  I was not completely happy with the look of the heels, I let them sit for a while trying to decide what to do next.  I love the three stones on the little bows, I could have gone crazy with the crystals and covered the whole thing which is what I intended to do originally, but I thought I should just keep it simple, at least for now.

After looking at the shoes for awhile the spaces kept bugging me, I finally decided to add the smallest crystal gems in the package to see if I would like that look any better.  It is somewhat more pleasing to the eye but I cannot say I am in love with the final product.  I think these shoes will remain a work in progress; I will probably end up covering the entire heel and bow with crystals on each shoe, which was my original plan for over the top bling, just like the designers are showing this season.

Thanks for letting me share my newest bling project with you; I hope to get back to a few more bling projects throughout the summer months, I miss all that sparkle.
See you soon.

Laurette

If you enjoyed reading this post you might also like:

Bling Those Shoes - Part 1
Black and White Bling - 2011
A Bit of Bling - 2011
Buttons Bows & Bling - 2011


Related Posts Plugin for WordPress, Blogger...